It’s 2026, a time for AI agents and AI tools like Claude Code and Codex CLI to be alive. I am using them every day and I find myself spending more time inside a terminal app rather than a code editor.
In the past, I’ve written about setting up and installing Oh My Zsh and using iTerm2 as my de facto terminal app. I’ve used iTerm2 as long as I can remember, probably around a decade. I have switched between different color schemes and configurations, even saved them in my dotfiles.
Recently, I’ve been hearing a lot about Ghostty, which is a new terminal app in town and is created by Mitchell Hashimoto (co-founder of HashiCorp). Everyone keeps saying it is minimal and fast. You had me at minimal.
Why I switched
iTerm2 is a great terminal but is a complete app that offers more settings than I need right now.
Ghostty seems the opposite. It requires one plain text file. Doesn’t provide a GUI settings panel. The default settings in Ghostty aren’t too bad. It all made sense when I first installed and ran the app on my Mac.
Another reason is that Ghostty is GPU-accelerated and noticeably snappier. Window launches feel instant. Scrolling through my conversations with Claude Code sessions feels smoother. These details add up when you are looking at and interacting with a terminal window for at least 1/3rd of your full day’s work. Maybe more on some days.
Getting Ghostty
Ghostty is available at ghostty.org. On macOS, download the .dmg from the website or install via Homebrew:
brew install --cask ghosttyGhostty configuration
I was mind-blown when I found out that Ghostty uses a single plain text file for configuration. Press Cmd + , and the config file opens right inside the terminal. No settings GUI, no preferences panel with dozens of tabs. Just a text file.
An example of this is the terminal app theme. Ghostty ships with hundreds of built-in themes and does not require importing or downloading anything. All you need to do is mention the name.
theme = light:Gruvbox Light,dark:draculaIf you are like me and want to stick to one theme, you can define a single theme:
theme = Gruvbox LightMy complete Ghostty configuration
Here’s my complete Ghostty configuration. There is nothing fancy about it:
# Theme
theme = Gruvbox Light

# Contrast
minimum-contrast = 1.3

# Font
font-family = JetBrainsMono Nerd Font
font-size = 16
font-thicken = true

# Window
macos-titlebar-style = tabs
window-padding-x = 8
window-padding-y = 4
background-opacity = 0.96
background-blur = 10
unfocused-split-opacity = 0.6
window-padding-balance = true

# macOS
macos-option-as-alt = left

# Cursor
cursor-style = bar

# Mouse
mouse-hide-while-typing = true
That’s it! A few lines of configuration is all I need. Everything is documented in the official documentation, but here’s what the above configuration does:
theme: Sets the color scheme. Ghostty ships with hundreds of built-in themes, and you can also add custom ones. You can uselight:anddark:prefixes to auto-switch based on macOS system appearance.minimum-contrast: Ensures every foreground/background color pair in the terminal meets a minimum contrast ratio. Setting it to 1.3 is a subtle floor that prevents any theme colors from becoming unreadable.font-family: The font used for all terminal text. I use JetBrainsMono Nerd Font, which includes icons for git, Node.js, Python, and other developer tools in the prompt.font-size: Font size in points. 16 works well on a large external monitor.font-thicken: Makes the font slightly bolder. Adds a bit of weight to the text, which improves readability on high-resolution displays.macos-titlebar-style = tabs: Integrates tabs directly into the macOS titlebar. Saves vertical space and looks native.window-padding-x/window-padding-y: Adds breathing room between the text and the window edges. Without it, characters feel crammed against the border.window-padding-balance: Automatically centers the text when you resize the window, instead of pinning it to the top-left corner.background-opacity: Controls window transparency. 0.96 gives a subtle translucency where you can barely see the desktop behind the terminal without sacrificing readability.background-blur: Blurs the background visible through the transparent window. Paired with opacity, this gives a frosted glass effect.unfocused-split-opacity: When you split panes, the unfocused pane dims to this value. 0.6 makes it obvious which pane is active.macos-option-as-alt = left: On macOS, theOptionkey produces special Unicode characters (likeøorå) instead of acting asAlt. This setting makes the leftOptionkey behave asAlt.cursor-style = bar: A thin bar cursor instead of the default block.mouse-hide-while-typing: Hides the mouse cursor while you type so it doesn’t sit in the middle of your terminal output.
Shortcuts to remember
Whenever you make a change to your configuration, always remember to press Cmd + Shift + , to reload your changes.
Splitting panes works by default. You can press Cmd + D for vertical splits and Cmd + Shift + D for horizontal ones.
Why minimal
I have seen many cool terminal configurations that are quite long and contain custom themes, and complex keybindings. I want to keep things minimal on my end because I have a minimal setup and using default keybindings are part of my muscle memory now. There are definitely things I can improve in near future, if I have to spend more time inside a terminal window. When a configuration gives me everything I need, there’s hardly any reason to make it complex.
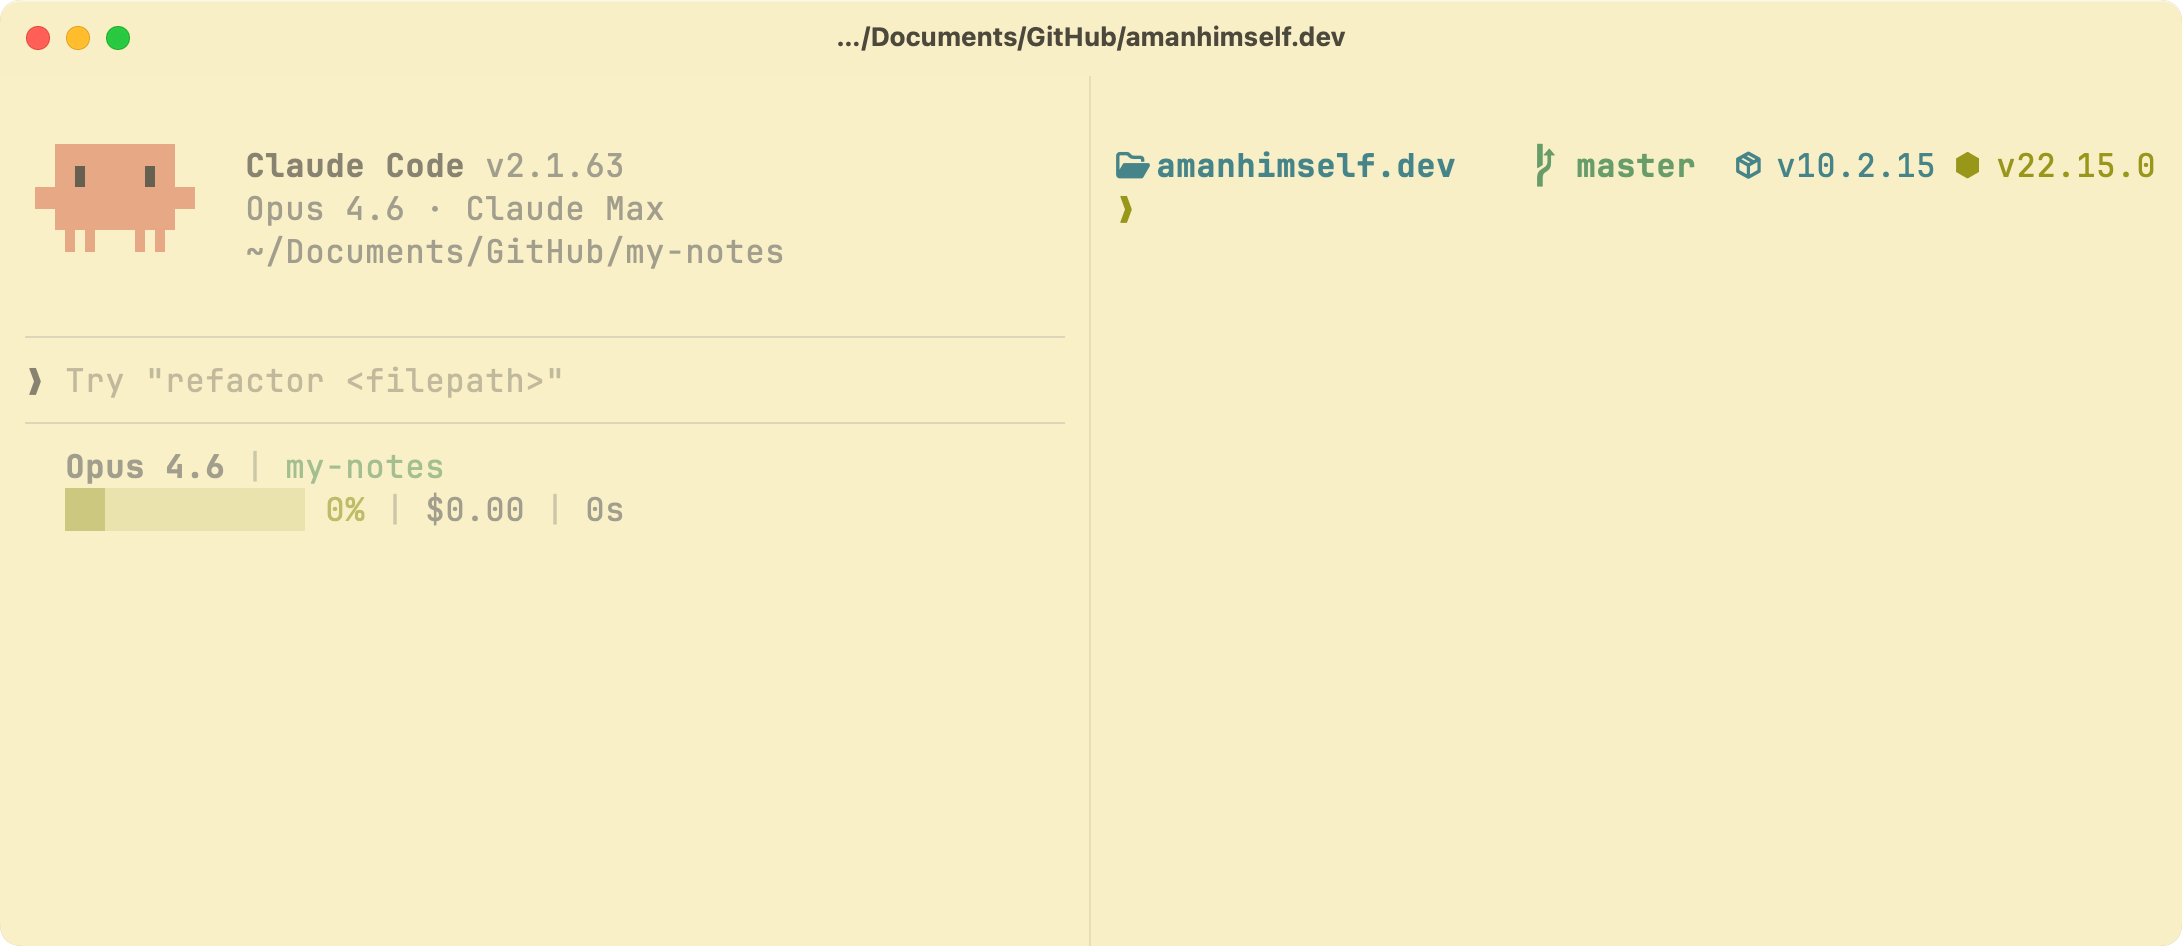
This how my current Ghostty window looks like: