Opening a React Native app created with Expo in an iOS simulator is a common developer task. By default, the app opens in the last used iOS simulator. In my case, I frequently use the iPhone 17 Pro simulator right now which runs iOS 26 version.
Sometimes, I also want to open the app in another iOS simulator. For example, working on the previous blog post, I wanted to observe and simultaneously show how large header titles and native tabs work on iOS 26 and iOS 18. Some of other use cases would be to test other platform-specific behavior across different iOS versions, comparing layouts between different screen sizes, and so on.
Usually, the first option that my mind goes to is to go through the Simulator app menu bar and select Simulator > Open Simulator > iOS 18.0 > iPhone 16 Pro, but there’s a catch. If you’re not using Expo Go or you’ve switched to development builds, getting your app running on both simulators becomes tedious.
There’s a better way. Expo CLI has a built-in option that makes this trivial. It’s one of those small CLI features that time once you know it exists.
When you run the npx expo start command, you must have seen the familiar developer server output:
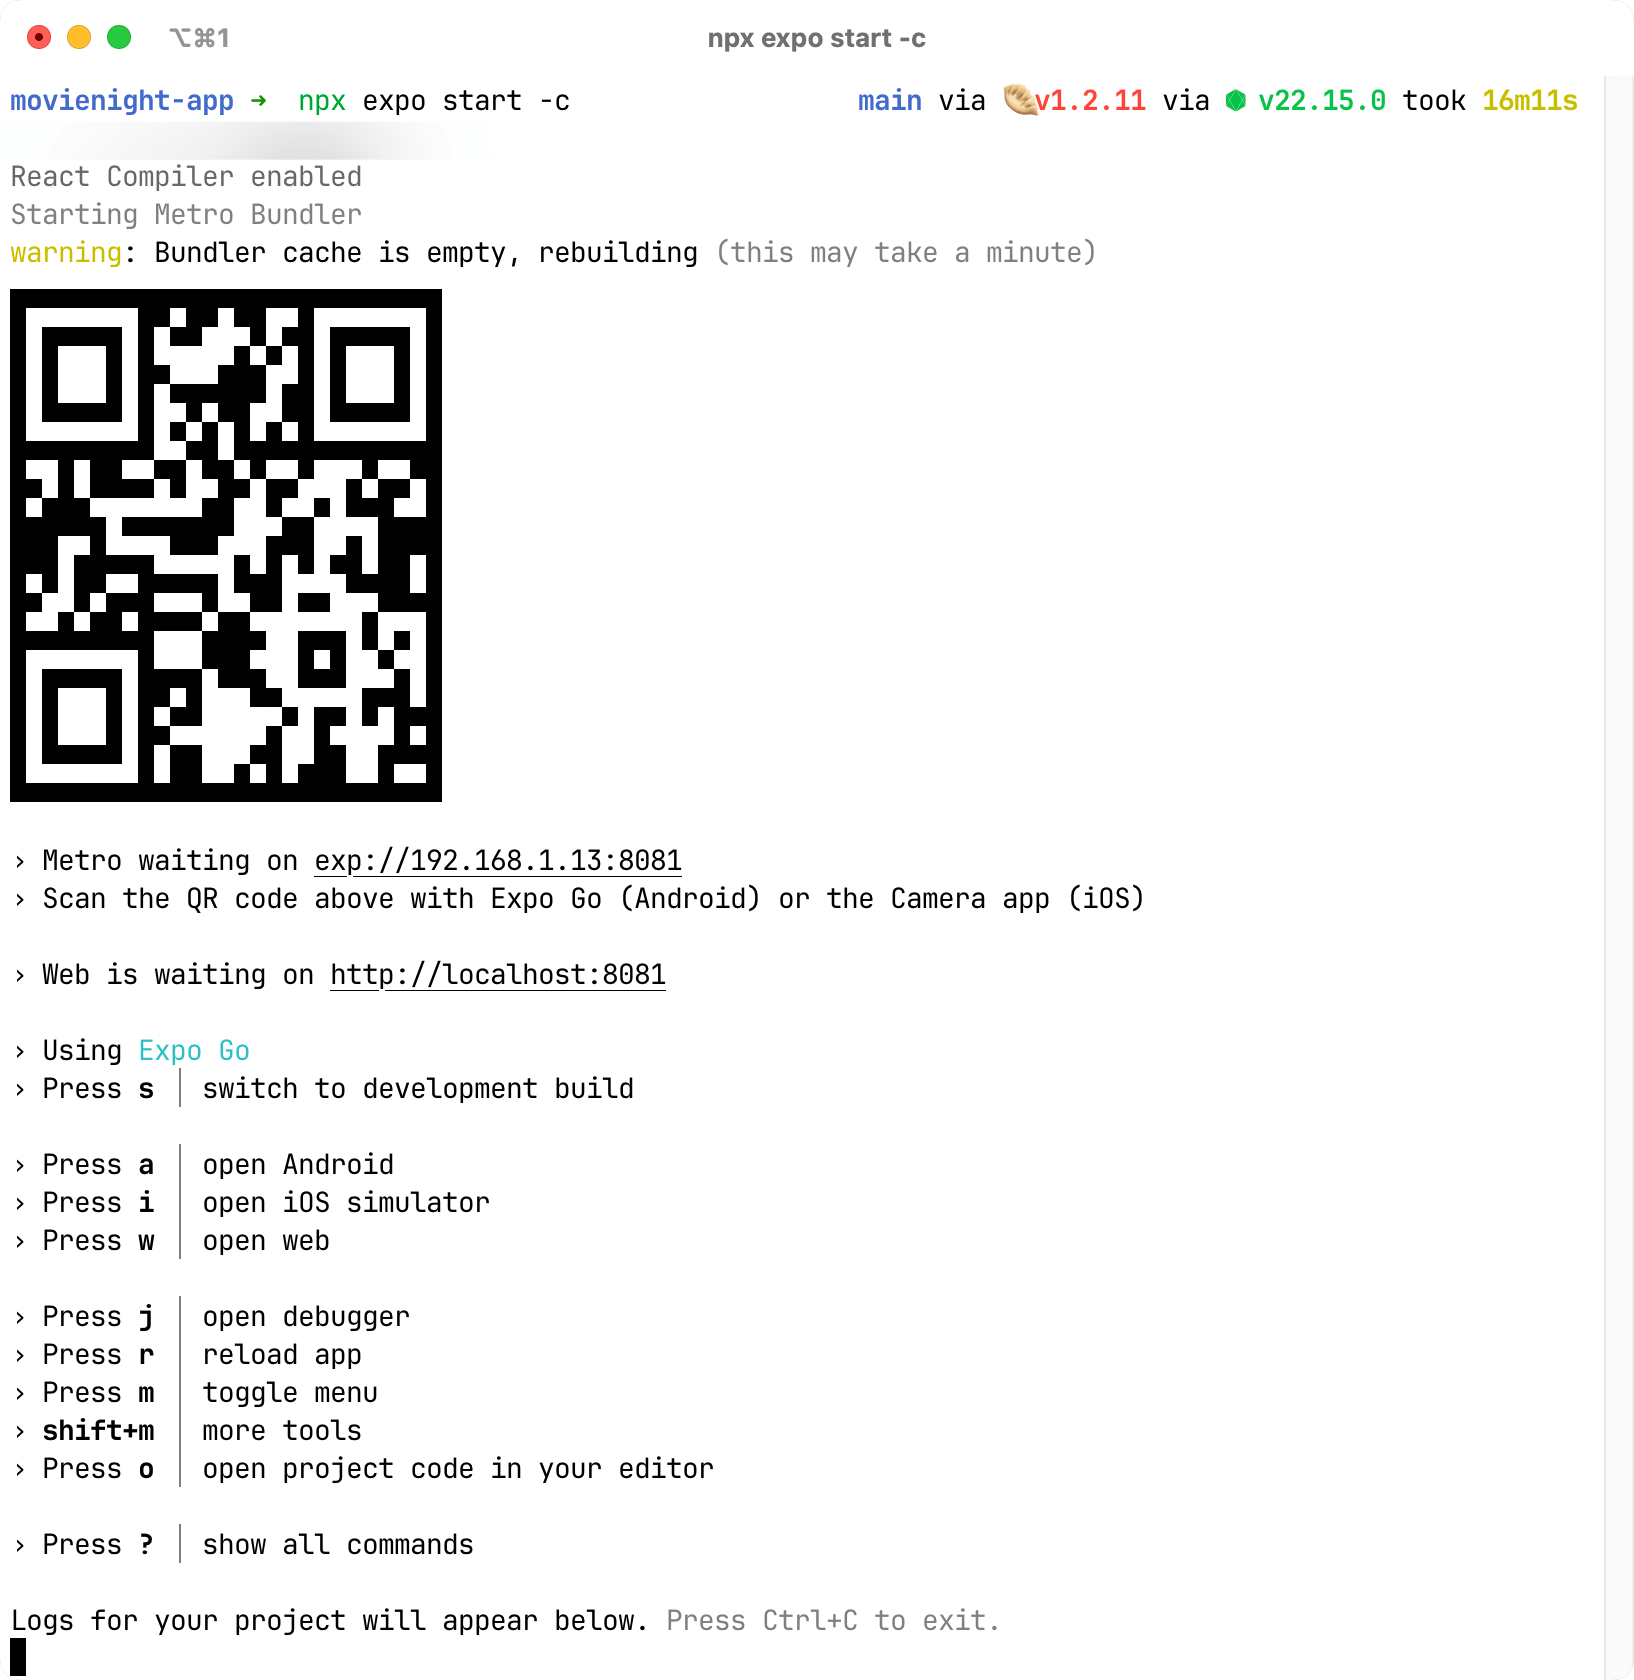
Pressing i from the keyboard opens your most recently used iOS simulator. But here’s the trick I was missing. Pressing ? will bring all available options. Once those options are exposed in the terminal window, you’ll notice shift + i lets you selected a specific behavior:
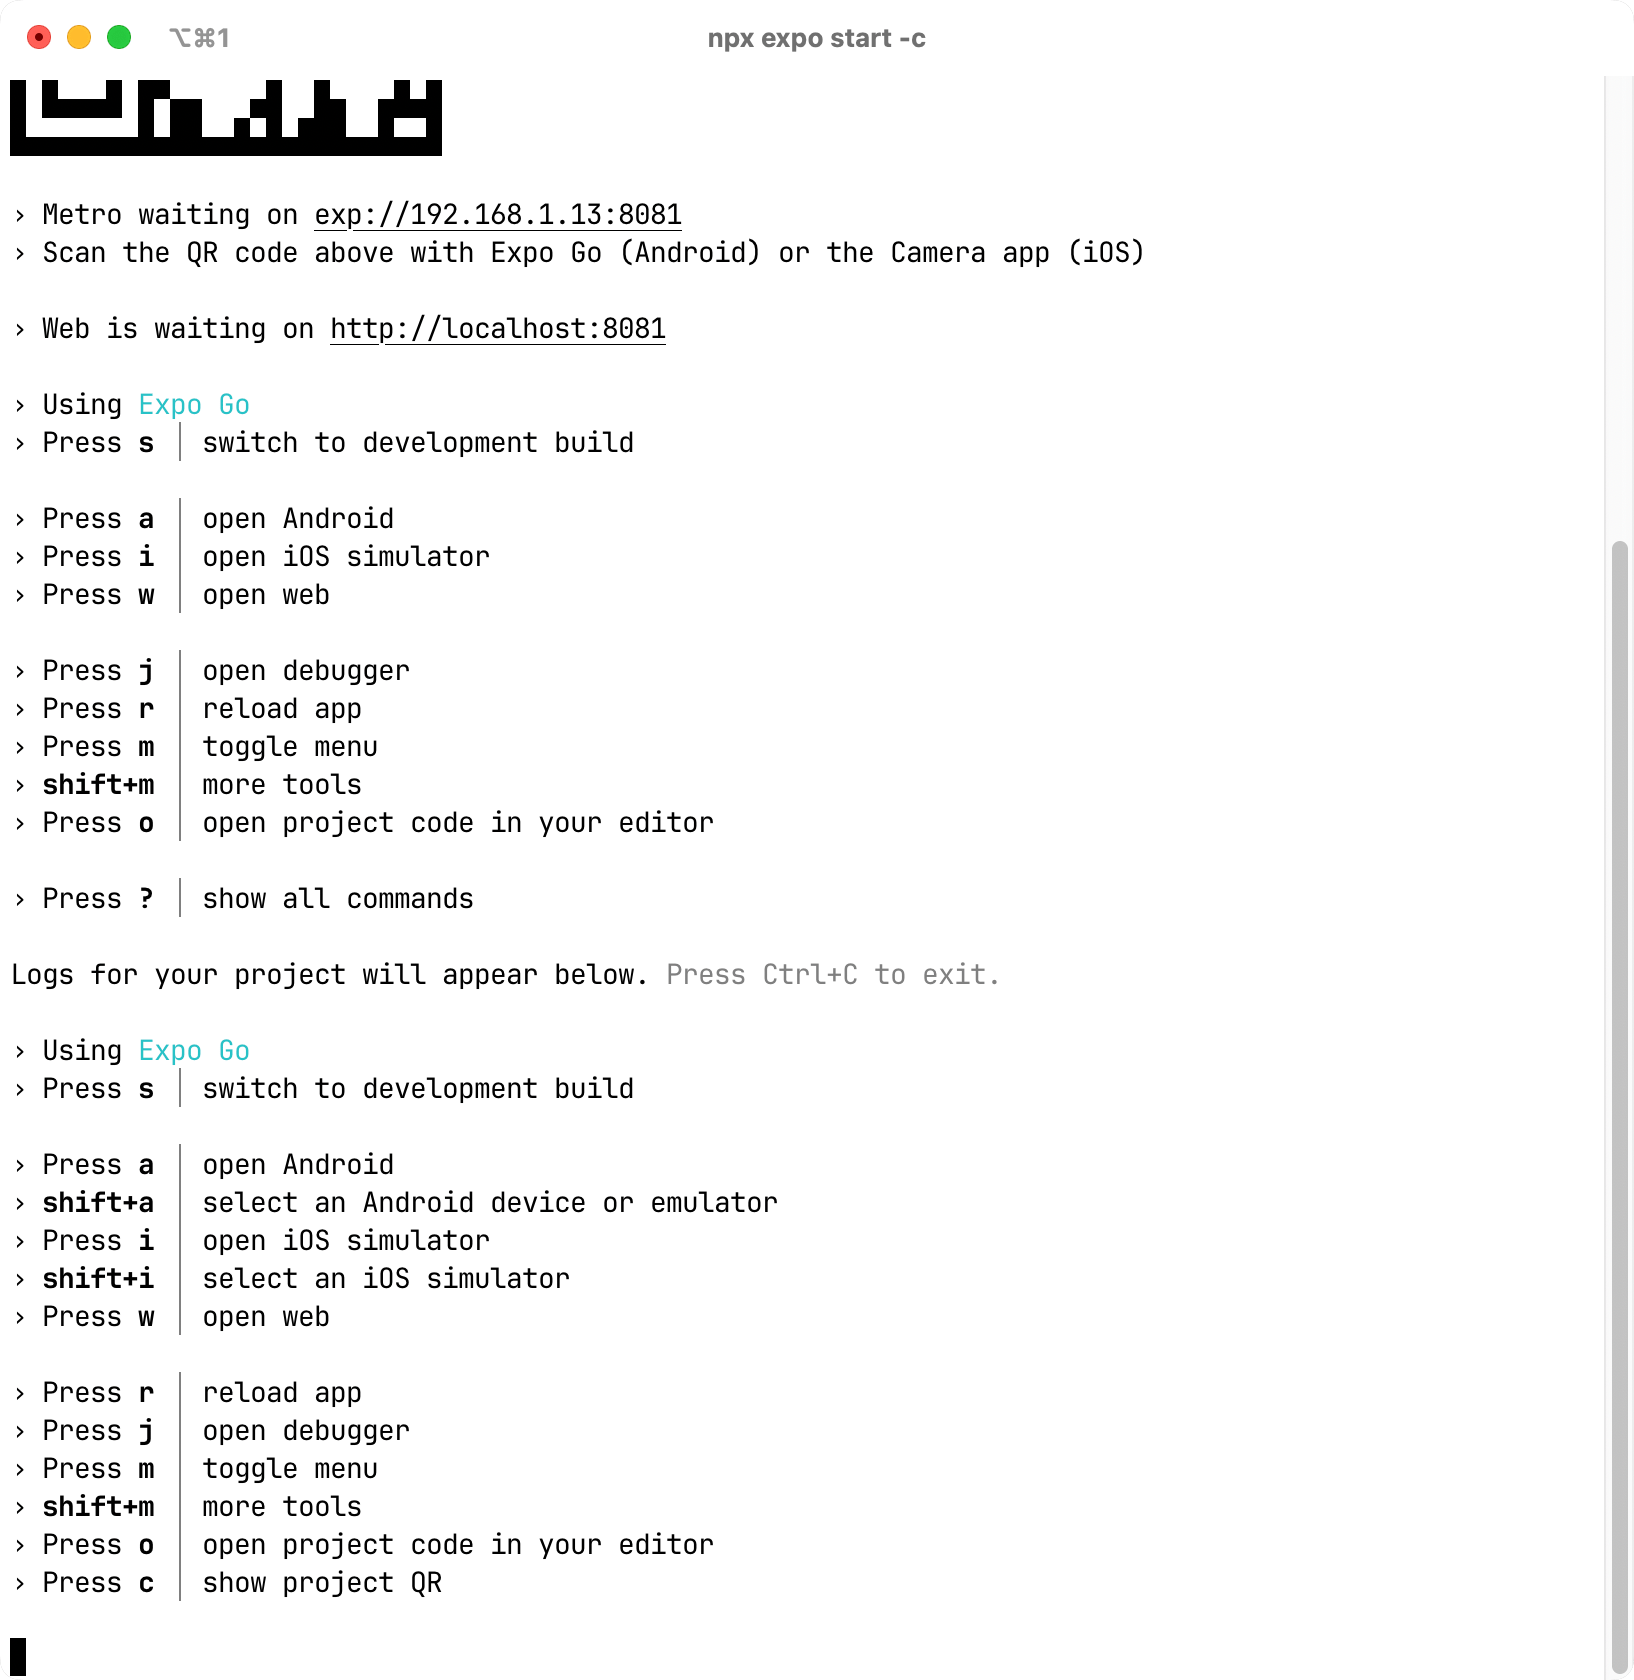
Press shift + i, and Expo CLI presents a searchable list of every simulator you have configured:

Select your target device, and Expo CLI will launch it and install your app automatically. No manual steps necessary.
