If you use your macOS for Python projects, especially for AI tools like Stable Diffusion WebUI or Open Web UI, you likely find it frustrating that macOS ships with a python3 default version. Sometimes, this version can be outdated or locked down. One project may require Python 3.11, while another requires 3.9.
For example, at the time of writing the guide, the default Python version on my machine is:
python3 --version

# Output
Python 3.13.3
However, considering the Stable Diffusion Web UI’s requirements, it is recommended to install Python 3.10 because torch, a framework for building deep learning models, isn’t supported in newer versions.

This is where using conda to manage packages and environments in Python projects comes in handy. It helps to install, manage, and update packages from Anaconda and other repositories, removing that extra layer of complexity.
In this guide, I’ll share installation steps to install conda using Miniforge, which is a lightweight, community driven conda installer. Whether you’re setting up Stable Diffusion WebUI for the first time or spinning up Open WebUI for local AI chat, you’ll have clean, reproducible environments that just work.
Download the shell script
Miniforge recommends downloading conda using a shell script for Apple Silicon machines.
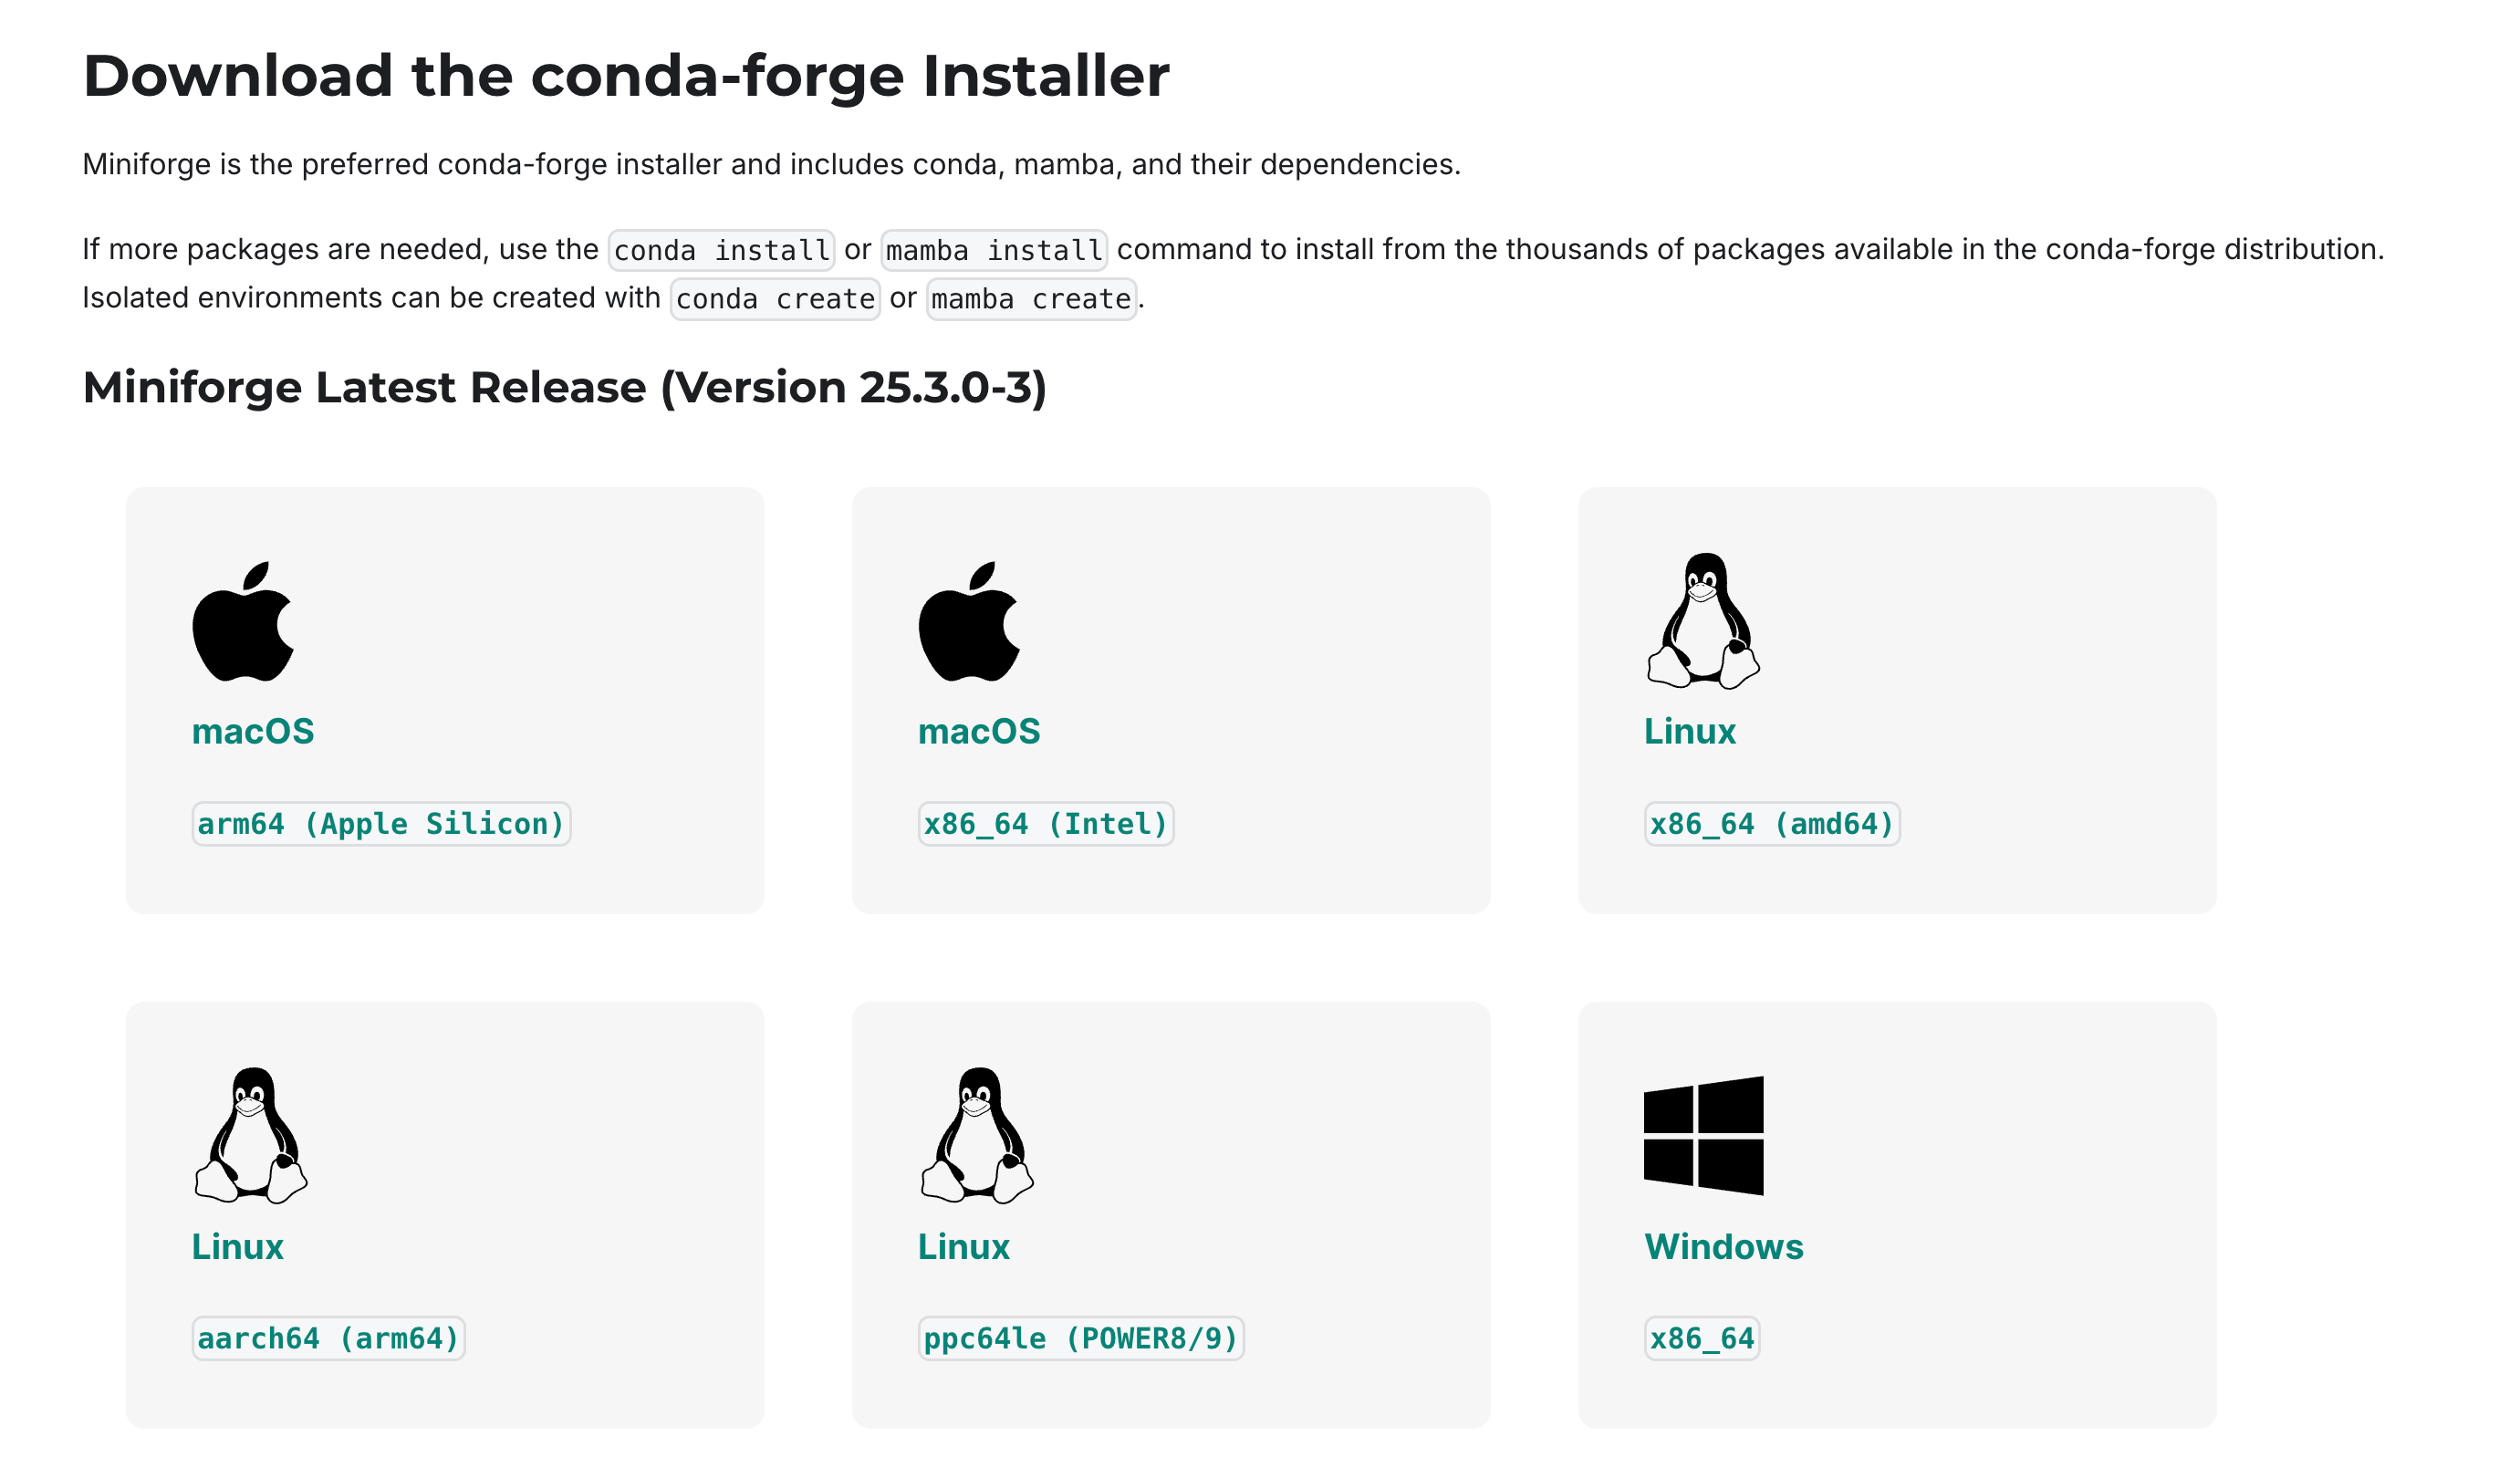
Visit https://conda-forge.org/download/.
Download the latest version by clicking the macOS tile for arm64 (Apple Silicon).
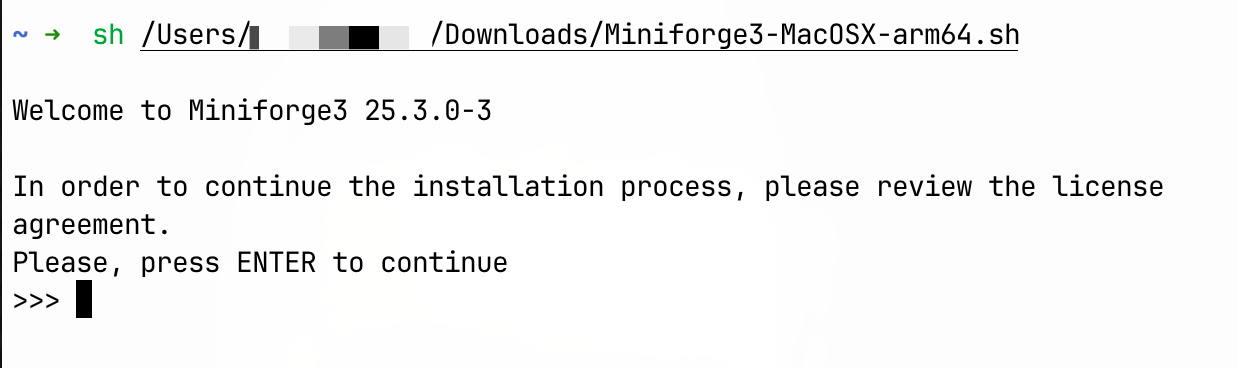
Once you have downloaded it, in your terminal, run the script using sh:
sh /Users/username/Downloads/Miniforge3-MacOSX-arm64.shThis will bring up the installation steps, such as reviewing the license and agreeing to it. Once you accept the license terms and accept the location to install it (I choose the default location so it installs under the username directory).
Activate conda’s base environment
To activate conda’s base environment that will use the default Python version, you need to add the following in your shell’s source script. Since I use zsh shell, I added the following at the end of my .zshrc file:
################ END OF FILE configs ################

# conda

eval "$(/Users/username/miniforge3/bin/conda shell.zsh hook)"
Then, either restart the terminal or run source .zshrc.
Verify installation
To verify installation, I am using a new terminal window. I run the following commands:
conda —-version

# Output
conda 25.3.0

python —-version

# Output
Python 3.12.10
Python 3.12.10 is the default version conda is using on my machine. This Python version is installed separately from the one pre-installed on macOS or installed via homebrew before.
At any time, you can also run which python to check the location of the Python’s executable file:
which python
/Users/username/miniforge3/bin/python
(base)
New environment with conda
To create a new environment and use a specific Python version, run the command:
conda create —name py39This command will create a new environment and will also output the environment location on your machine:
environment location: /Users/username/miniforge3/envs/py39Any environment created goes inside the miniforge3/envs/ directory.
To use this new environment, you need to activate it first by using the activate option:
conda activate py39Once it is activated, run the command to install the Python version you want in your project’s environment:
conda install python=3.9Then, you can run the version verification command to check which version of Python is used in this environment:
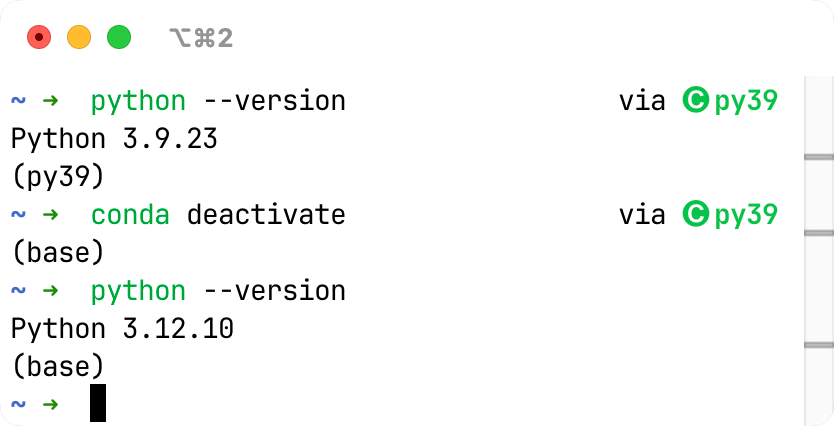
python --version

# Output
Python 3.9.23
Deactivate an environment
To deactivate an environment, you can run:
conda deactivateAfter running this command, you will be back into the conda’s base environment, which was created by default.