Code blocks are the backbone of any technical blog. While basic syntax highlighting serves its purpose, readers expect more polished experiences. These experiences can be provided with small enhancements.
Recently, I started enhancing code blocks on my Astro blog to include language labels with a clean header bar on top of each code block. Before this change, this is how a code block would render on my blog:
Current state of a code block
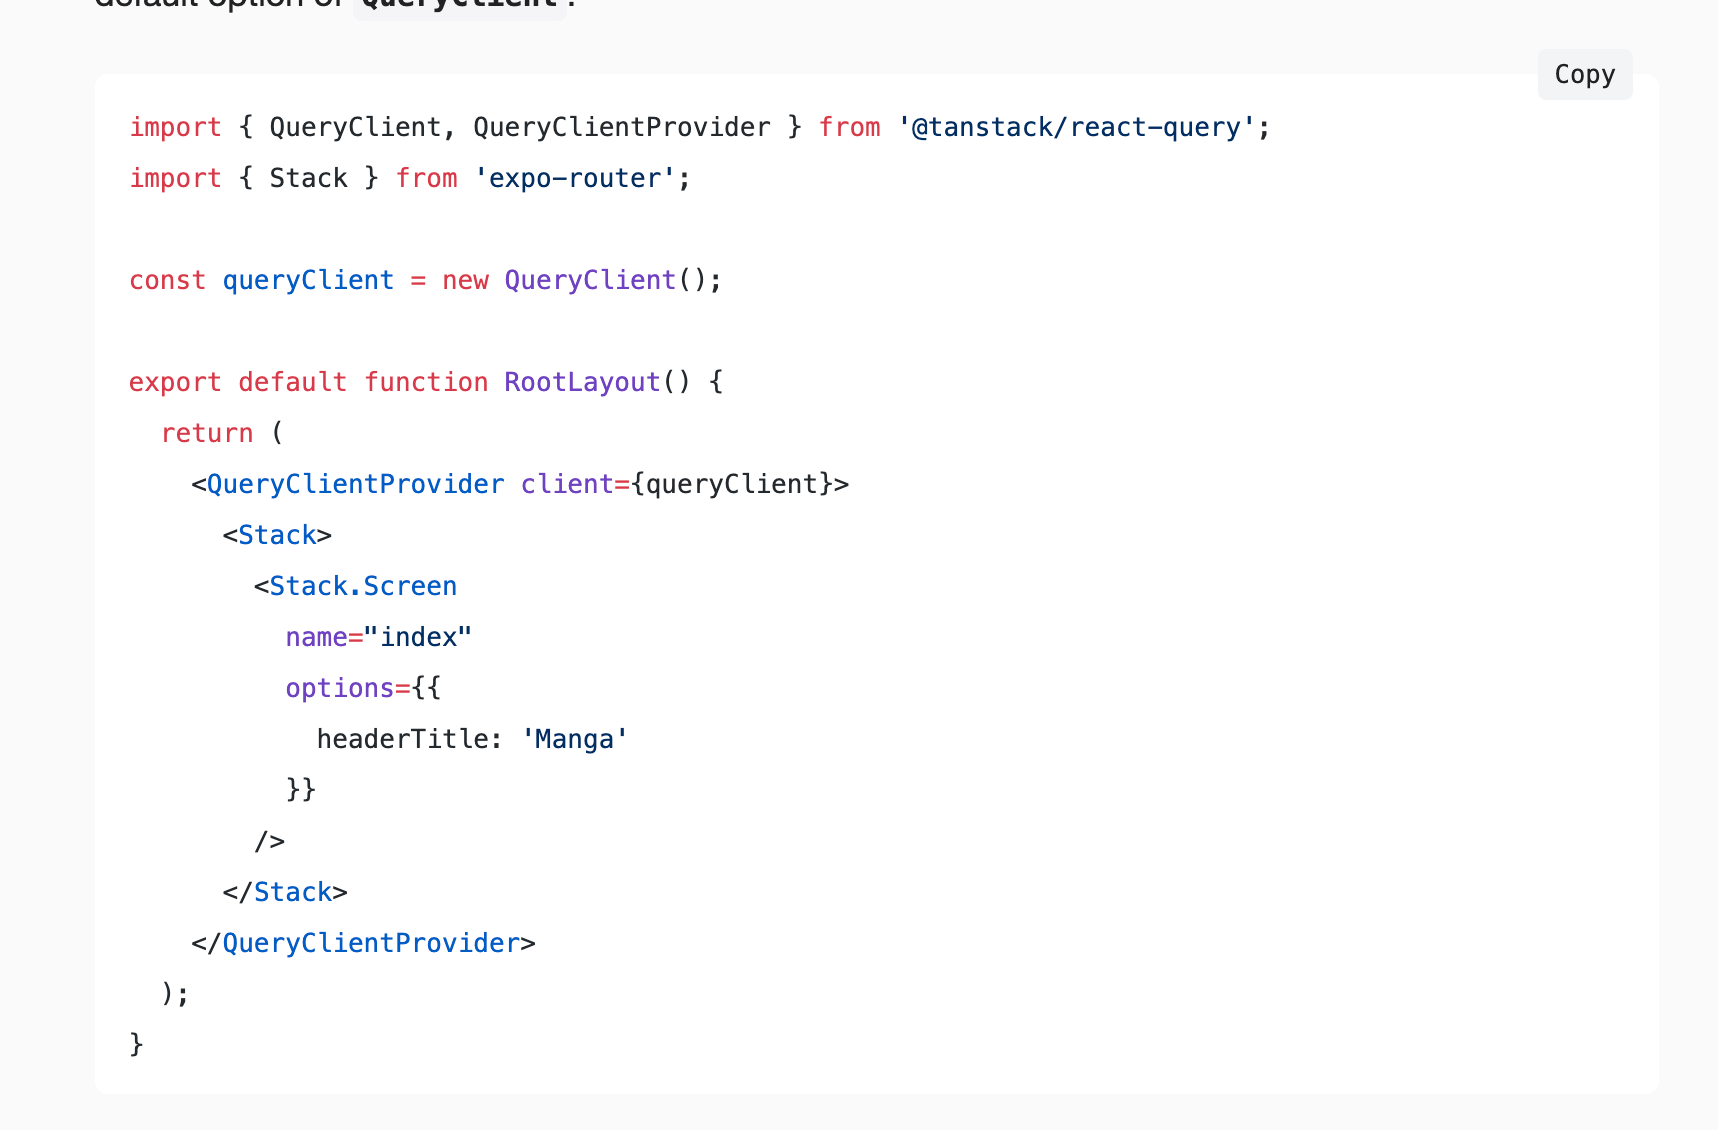
My blog uses Astro as its blog engine, which uses Shiki for syntax highlighting with dual theme support. The foundational configuration is provided by the astro.config.ts file, which I’ll be going to use.
Shiki automatically adds a data-language attribute to a code block. This is the key to extracting language information for the header labels. Let’s take the following code block as an example.
The above code block is rendered and has a ts language set in its markdown source file. Inspecting developer tools in a browser, the same ts language is passed down as a value to the data-language attribute.

Since Shiki does this heavy lifting, all that is needed is to render this information in a blog post without affecting the business logic behind it.
Initial JavaScript implementation
Using client-side JavaScript, you can easily detect code blocks and programmatically add headers. I have a layout file called PostDetails. Astro, which already had a copy button functionality, so it took a lot less guesswork as to where the rendering of a code block’s language should go.
function attachCopyButtons() {
  let copyButtonLabel = 'Copy';
  let codeBlocks = Array.from(document.querySelectorAll('pre'));

  for (let codeBlock of codeBlocks) {
    let wrapper = document.createElement('div');
    wrapper.style.position = 'relative';
    // ... rest of the function
  }
}
attachCopyButtons();
This function creates a wrapper element for each code block. It begins by defining the button label text and querying for all <pre> elements, which Shiki uses to wrap code blocks. It then converts a list of notes into an array with Array.from() to provide access to array manipulation. For each code block, a div is created with appropriate CSS classes.
Language formatting
Let’s add the code for extracting and formatting language information:
let language = codeBlock.getAttribute('data-language') || 'text';

const formatLanguage = lang => {
  const languageMap = {
    ts: 'TypeScript',
    js: 'JavaScript',
    tsx: 'TSX',
    jsx: 'JSX',
    md: 'Markdown',
    mdx: 'MDX'
  };

  return (
    languageMap[lang.toLowerCase()] ||
    lang.charAt(0).toUpperCase() + lang.slice(1)
  );
};
const displayLanguage = formatLanguage(language);
You can also add more languages to the languageMap object or keep it small as per your needs. This mapping covers popular programming languages and provides a fallback that capitalizes the first letter. Here’s the complete code for what I am using on this blog:
const languageMap = {
  ts: 'TypeScript',
  js: 'JavaScript',
  tsx: 'TSX',
  jsx: 'JSX',
  md: 'Markdown',
  mdx: 'MDX',
  sh: 'Shell',
  bash: 'Bash',
  json: 'JSON',
  yaml: 'YAML',
  yml: 'YAML',
  toml: 'TOML',
  css: 'CSS',
  html: 'HTML',
  xml: 'XML',
  py: 'Python',
  rb: 'Ruby',
  cpp: 'C++',
  swift: 'Swift',
  kotlin: 'Kotlin'
};
Create a header bar structure
The header bar is a visual container for both the language label and the existing copy button. Create a flexbox container to position the language label on the left appropriately and the copy button on the right. The code block below also uses the CSS classes integrated with my blog’s theme system.
let headerBar = document.createElement('div');
headerBar.className =
  'code-header flex items-center justify-between bg-skin-card border-b border-skin-border px-4 py-2 rounded-t-md';
Build a language label
To provide clear identification of the code block’s programming language, you need to create a language label provider:
let languageLabel = document.createElement('span');
languageLabel.className = 'language-label text-sm text-skin-base font-medium';
languageLabel.innerHTML = displayLanguage;
languageLabel.setAttribute('aria-label', `Code language: ${displayLanguage}`);
languageLabel.setAttribute('role', 'note');
In the above code block, the accessibility attributes provide context for screen readers, with the aria-label explaining the purpose and the role attribute marking it as informational content.
Create a copy button
The copy button is used to provide an interactive functionality for copying code to the clipboard. It utilizes a button element that incorporates hover effects and color transitions to leverage the existing theme system. Let’s also create a function to handle the actual copy functionality:
let copyButton = document.createElement('button');
copyButton.className =
  'copy-code text-sm text-skin-base hover:text-skin-accent transition-colors font-medium';
copyButton.innerHTML = copyButtonLabel;
copyButton.setAttribute(
  'aria-label',
  `Copy ${displayLanguage} code to clipboard`
);
copyButton.setAttribute('title', 'Copy code to clipboard');

async function copyCode(block, button) {
  let code = block.querySelector('code');
  let text = code?.innerText;

  await navigator.clipboard.writeText(text ?? '');
  button.innerText = 'Copied';

  setTimeout(() => {
    button.innerText = copyButtonLabel;
  }, 700);
}
In the copyCode function, the Clipboard API writes the text to the user’s clipboard asynchronously. Visual feedback changes the button text to “Copied” temporarily before reverting after 700 milliseconds, providing clear confirmation that the action was successful.
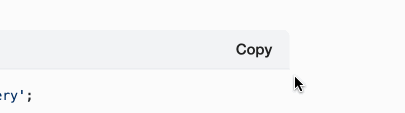
Here’s how the label and hover effect works on the label:
Add the language label and copy button to the header
Next, add the language button and copy button to the header bar with the appropriate styling:
headerBar.appendChild(languageLabel);
headerBar.appendChild(copyButton);
codeBlock.setAttribute('tabindex', '0');

codeBlock.className =
  (codeBlock.className || '') + ' rounded-t-none rounded-b-md';

codeBlock?.parentNode?.insertBefore(wrapper, codeBlock);
wrapper.appendChild(headerBar);
wrapper.appendChild(codeBlock);

copyButton.addEventListener('click', async () => {
  await copyCode(codeBlock, copyButton);
});
CSS styles to render header bar and code block
In code block styles, ensure that the header bar and the actual code block appear as one unit when rendered on a blog page:
@layer components {
  .code-header {
    @apply select-none;
    margin-bottom: 0 !important;
  }

  .language-label {
    @apply select-none pointer-events-none;
  }

  .copy-code {
    @apply cursor-pointer select-none;
  }

  .copy-code:hover {
    @apply transform scale-105;
  }

  pre {
    @apply mt-0 mb-4;
    position: relative;
    margin-top: 0 !important;
  }

  pre > code {
    @apply pt-0;
  }

  .code-header + pre {
    margin-top: 0 !important;
    border-top: none;
  }
}
Wrap up
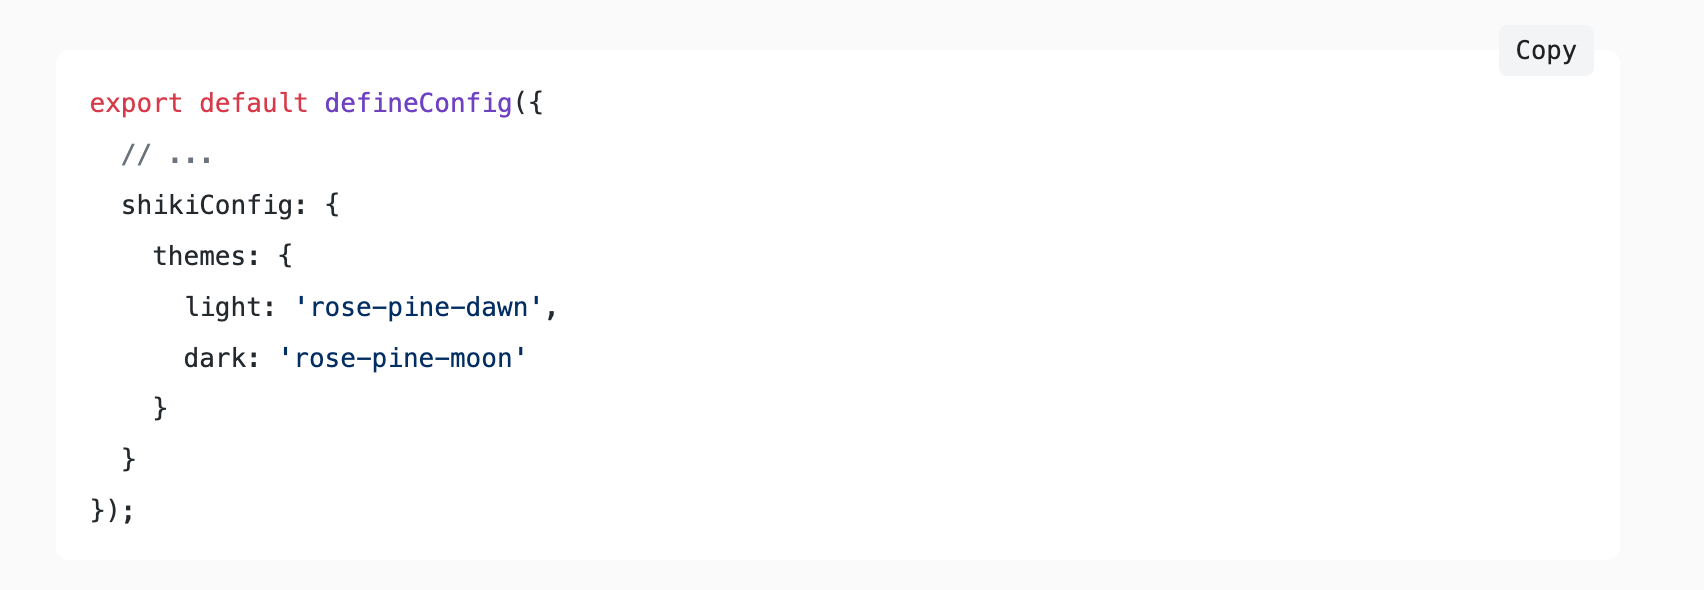
The improved code block now contains the language labels to provide immediate context about what kind of code a reader is looking at:

When switching to the dark theme, the header bar renders correctly:

