Modern mobile app interfaces go beyond opaque header bars. On iOS, a frosted-glass like blur effect when scrolling a screen which contains the header is quite easy with Expo Router and React Navigation.
In this article, let’s explore how to implement this effect in a React Native app using Expo Router. For demonstration, the following will be the final result:
Using Stack.Screen options
Since Expo Router wraps the React Navigation library, you can use Stack.Screen options to achieve the blur effect. On iOS, this requires adding two props: headerBlurEffect and headerTransparent.
In app/_layout.tsx, a Stack component is used to define the layout of the app. The Stack.Screen component is used to define the screen’s layout and options. Currently, there’s only one screen in the app, so it’s the root screen (app/index.tsx). Update the Stack.Screen component with the headerBlurEffect and headerTransparent props:
// app/_layout.tsx
import { QueryClient, QueryClientProvider } from '@tanstack/react-query';
import { Stack } from 'expo-router';
import { StatusBar } from 'expo-status-bar';
const queryClient = new QueryClient();
export default function RootLayout() {
return (
<QueryClientProvider client={queryClient}>
<Stack>
<Stack.Screen
name="index"
options={{
headerTitle: 'Manga',
headerBlurEffect: 'regular',
headerTransparent: true
}}
/>
</Stack>
<StatusBar style="auto" />
</QueryClientProvider>
);
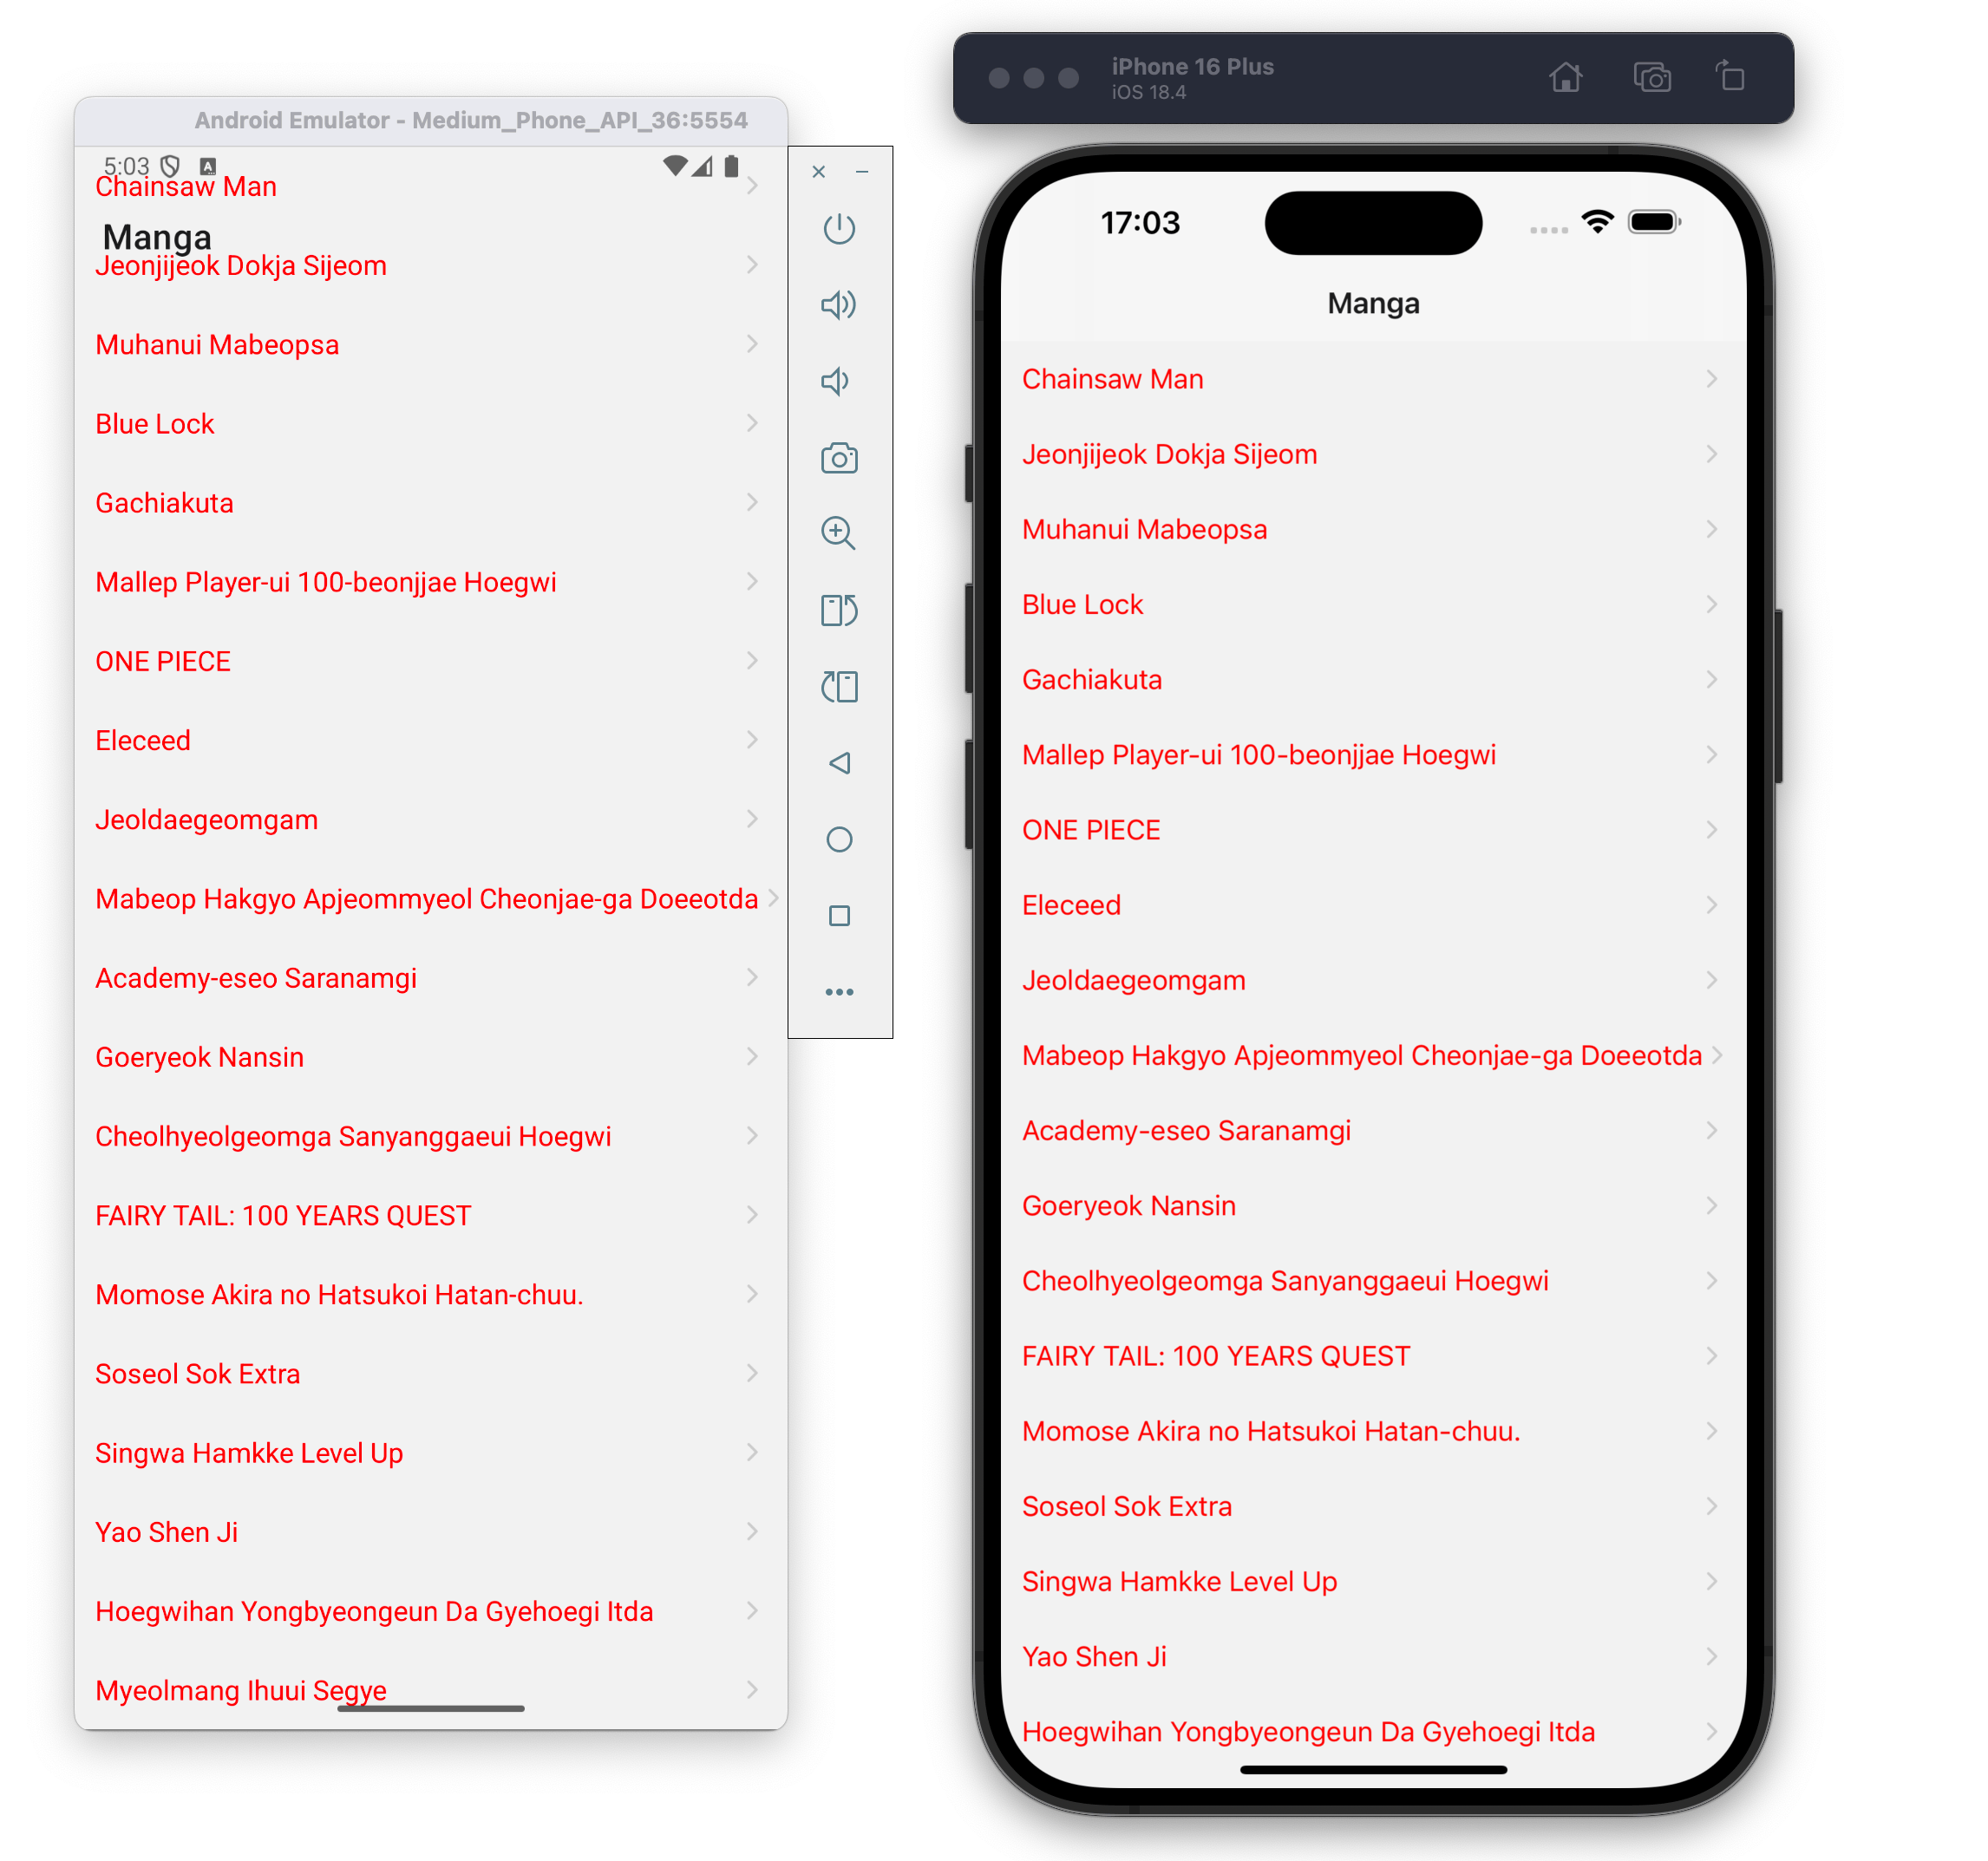
}It’s important to note that adding headerBlurEffect alone will have no effect on the look and feel of the app. You have to set the header to transparent for the blur effect prop to work.
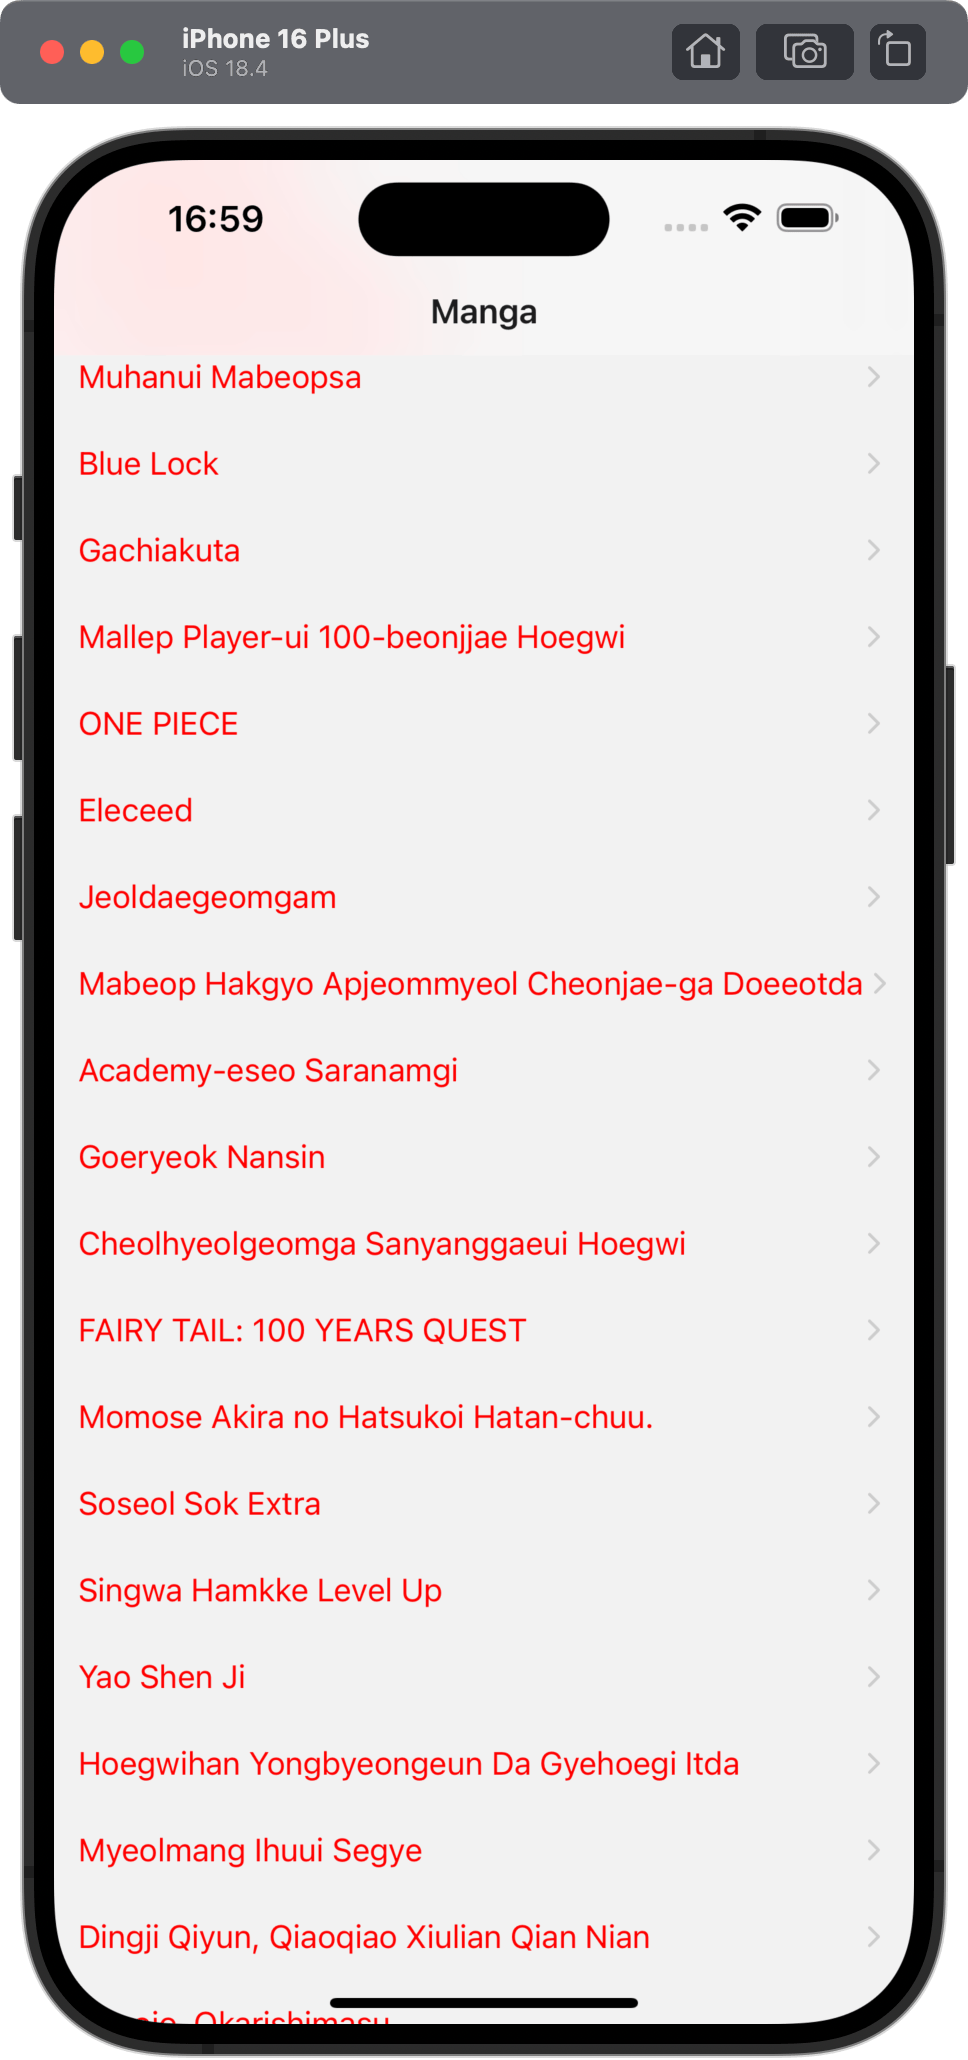
The header is now appears blurred. Though, as an app user, I haven’t scrolled the screen yet, the content of the screen is already behind the header.
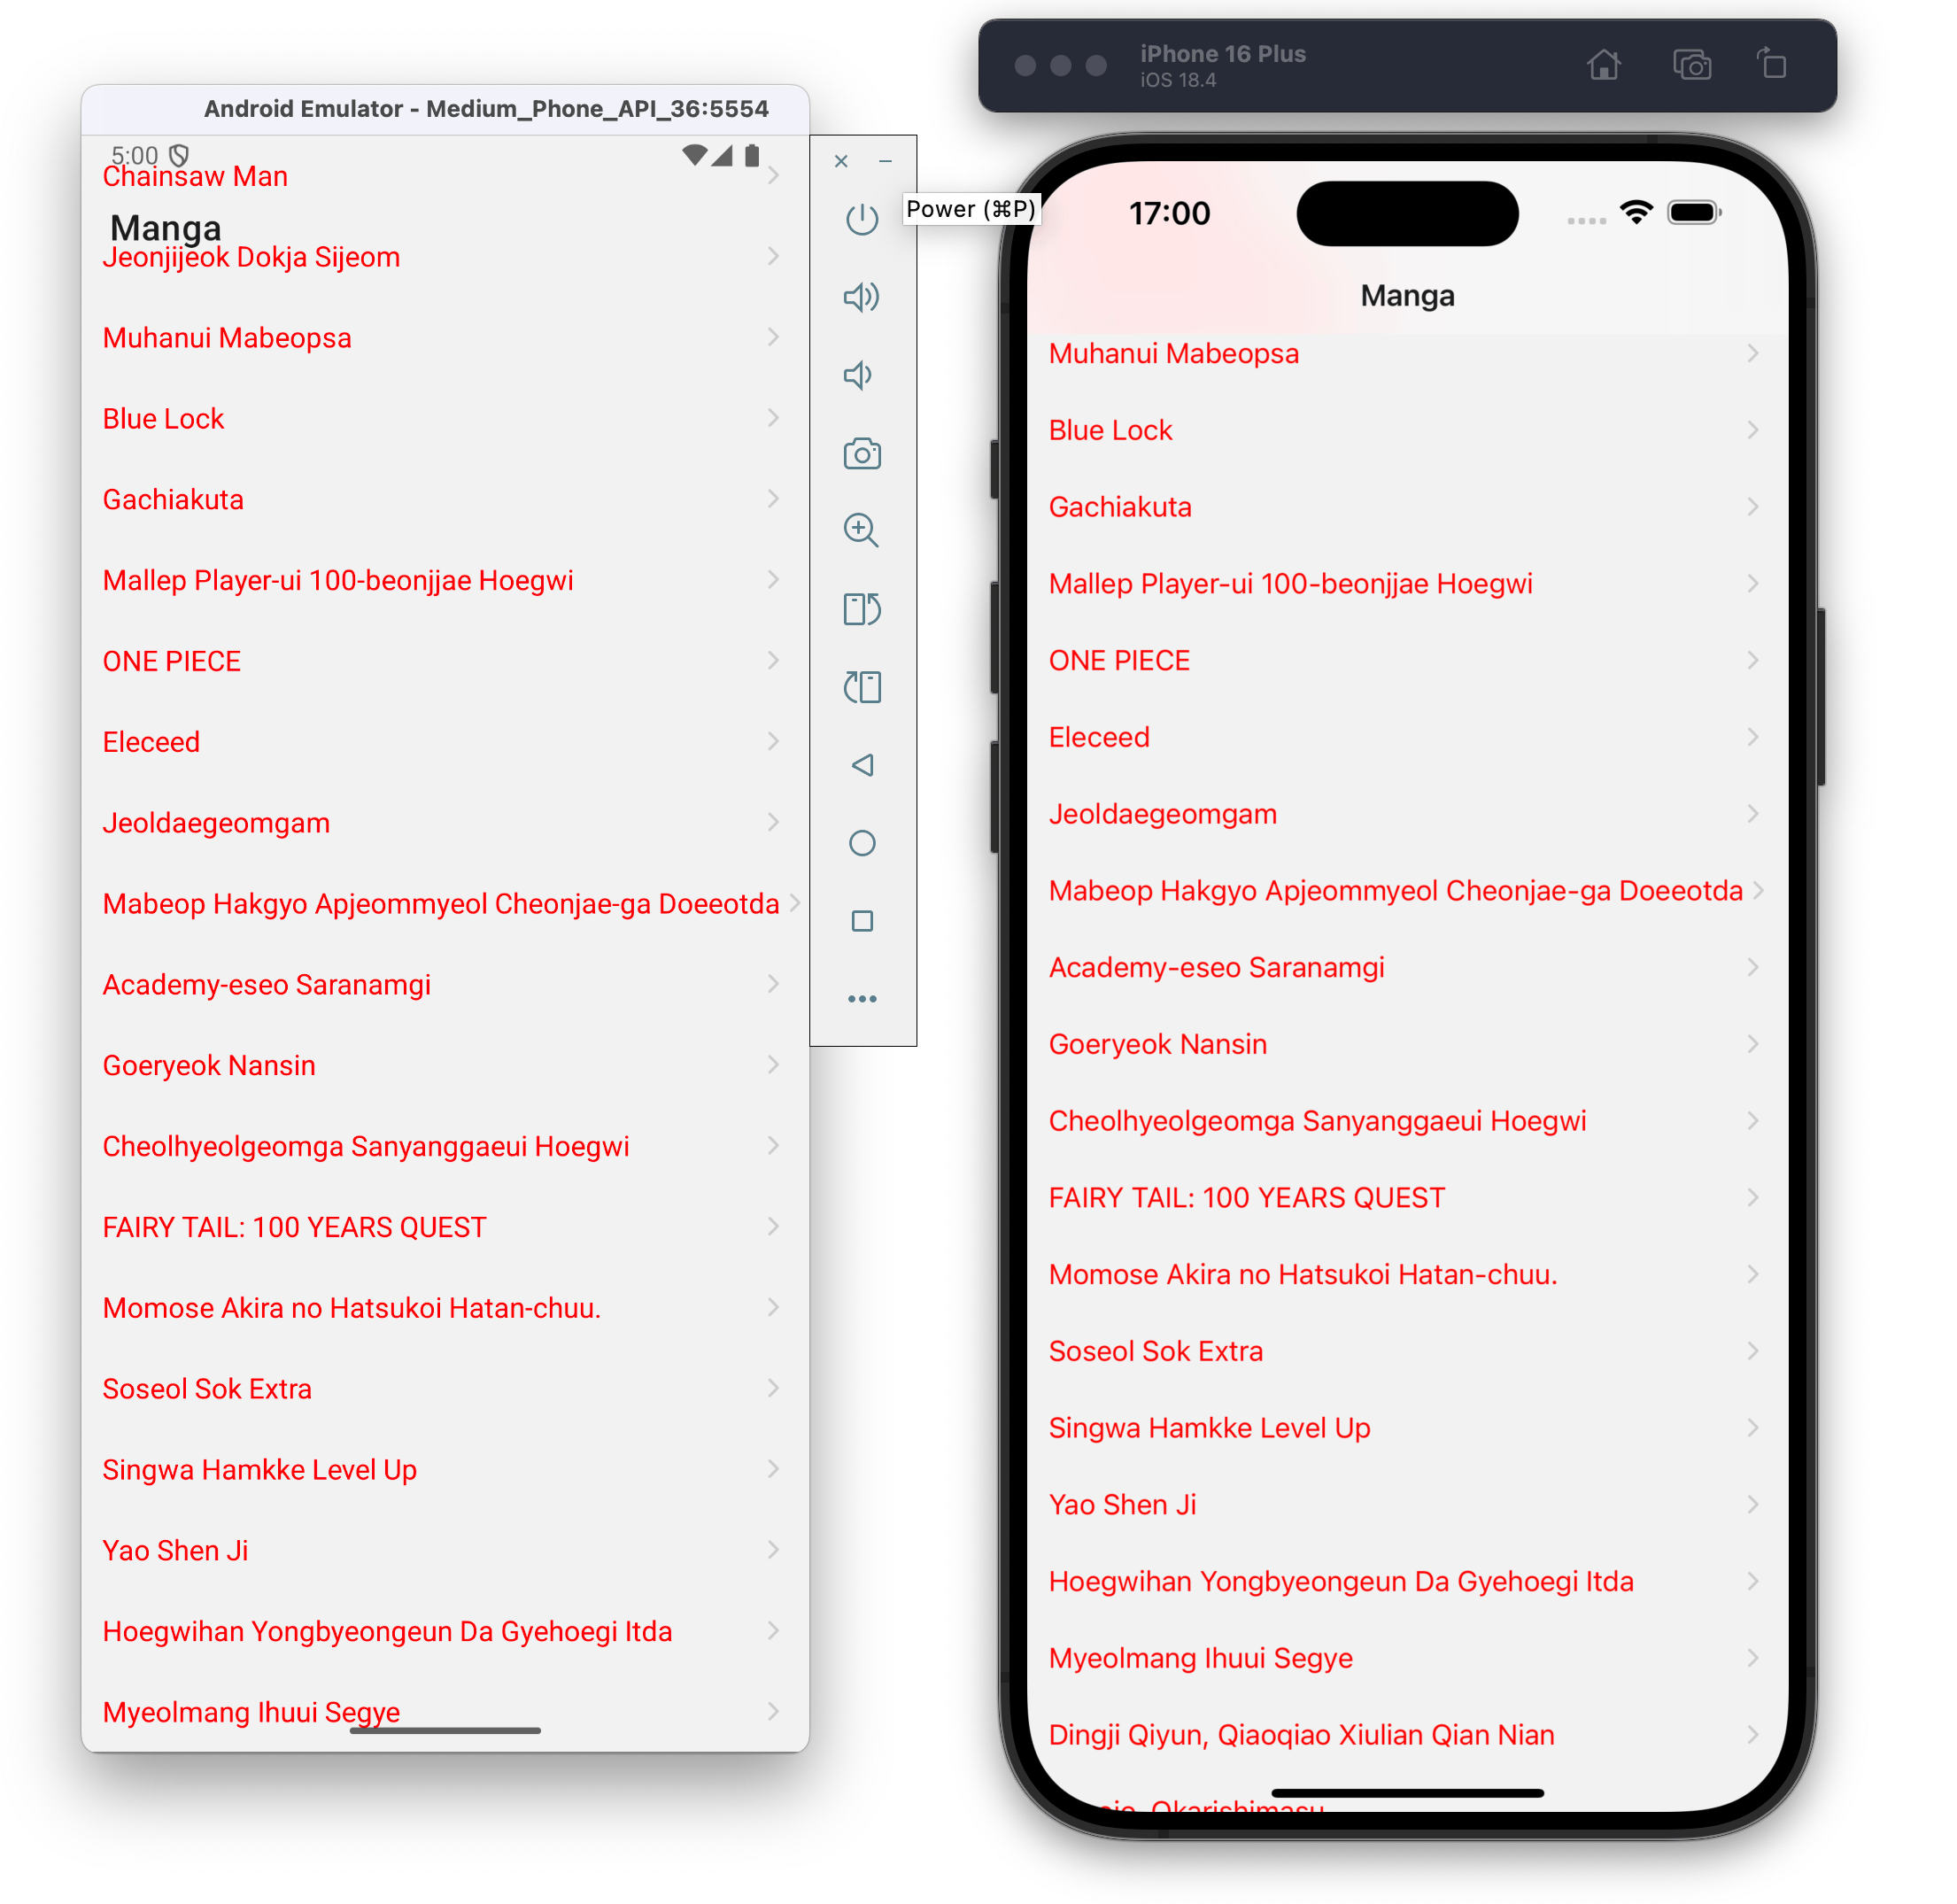
There’s another problem with this approach. On Android, this effect does not work and results in a bad experience:
Using header height hook to add a safe area
To fix the issue from the previous section, you can use the useHeaderHeight hook. This hook returns the height of the header, which you can use to offset the content in app/index.tsx.
// app/index.tsx
import { useHeaderHeight } from '@react-navigation/elements';
import { FlatList, Pressable, StyleSheet, Text, View } from 'react-native';
import Indicator from '@/components/Indicator';
import { useTrendingManga } from '@/hooks';
import Ionicons from '@expo/vector-icons/Ionicons';
import { Link } from 'expo-router';
export default function HomeScreen() {
const { data, isLoading, isError } = useTrendingManga();
const headerHeight = useHeaderHeight();
if (isLoading) {
return <Indicator isLoading={isLoading} />;
}
if (isError) {
return <Indicator isError={isError} />;
}
return (
<View style={[styles.container]}>
<FlatList
data={data}
renderItem={({ item }) => (
<Link href={`/${item.id}`} asChild>
<Pressable style={styles.mangaItem}>
<Text style={styles.mangaTitle}>{item.title.romaji}</Text>
<Ionicons name="chevron-forward" size={16} color="#ccc" />
</Pressable>
</Link>
)}
contentContainerStyle={{ paddingTop: headerHeight }}
/>
</View>
);
}
const styles = StyleSheet.create({
container: {
flex: 1
},
loadingContainer: {
flex: 1,
justifyContent: 'center',
alignItems: 'center'
},
errorText: {
color: 'red',
fontSize: 16
},
header: {
fontSize: 24,
fontWeight: 'bold',
marginBottom: 16,
paddingHorizontal: 12
},
mangaItem: {
padding: 12,
flexDirection: 'row',
alignItems: 'center',
justifyContent: 'space-between'
},
mangaTitle: {
fontSize: 16,
color: 'red'
}
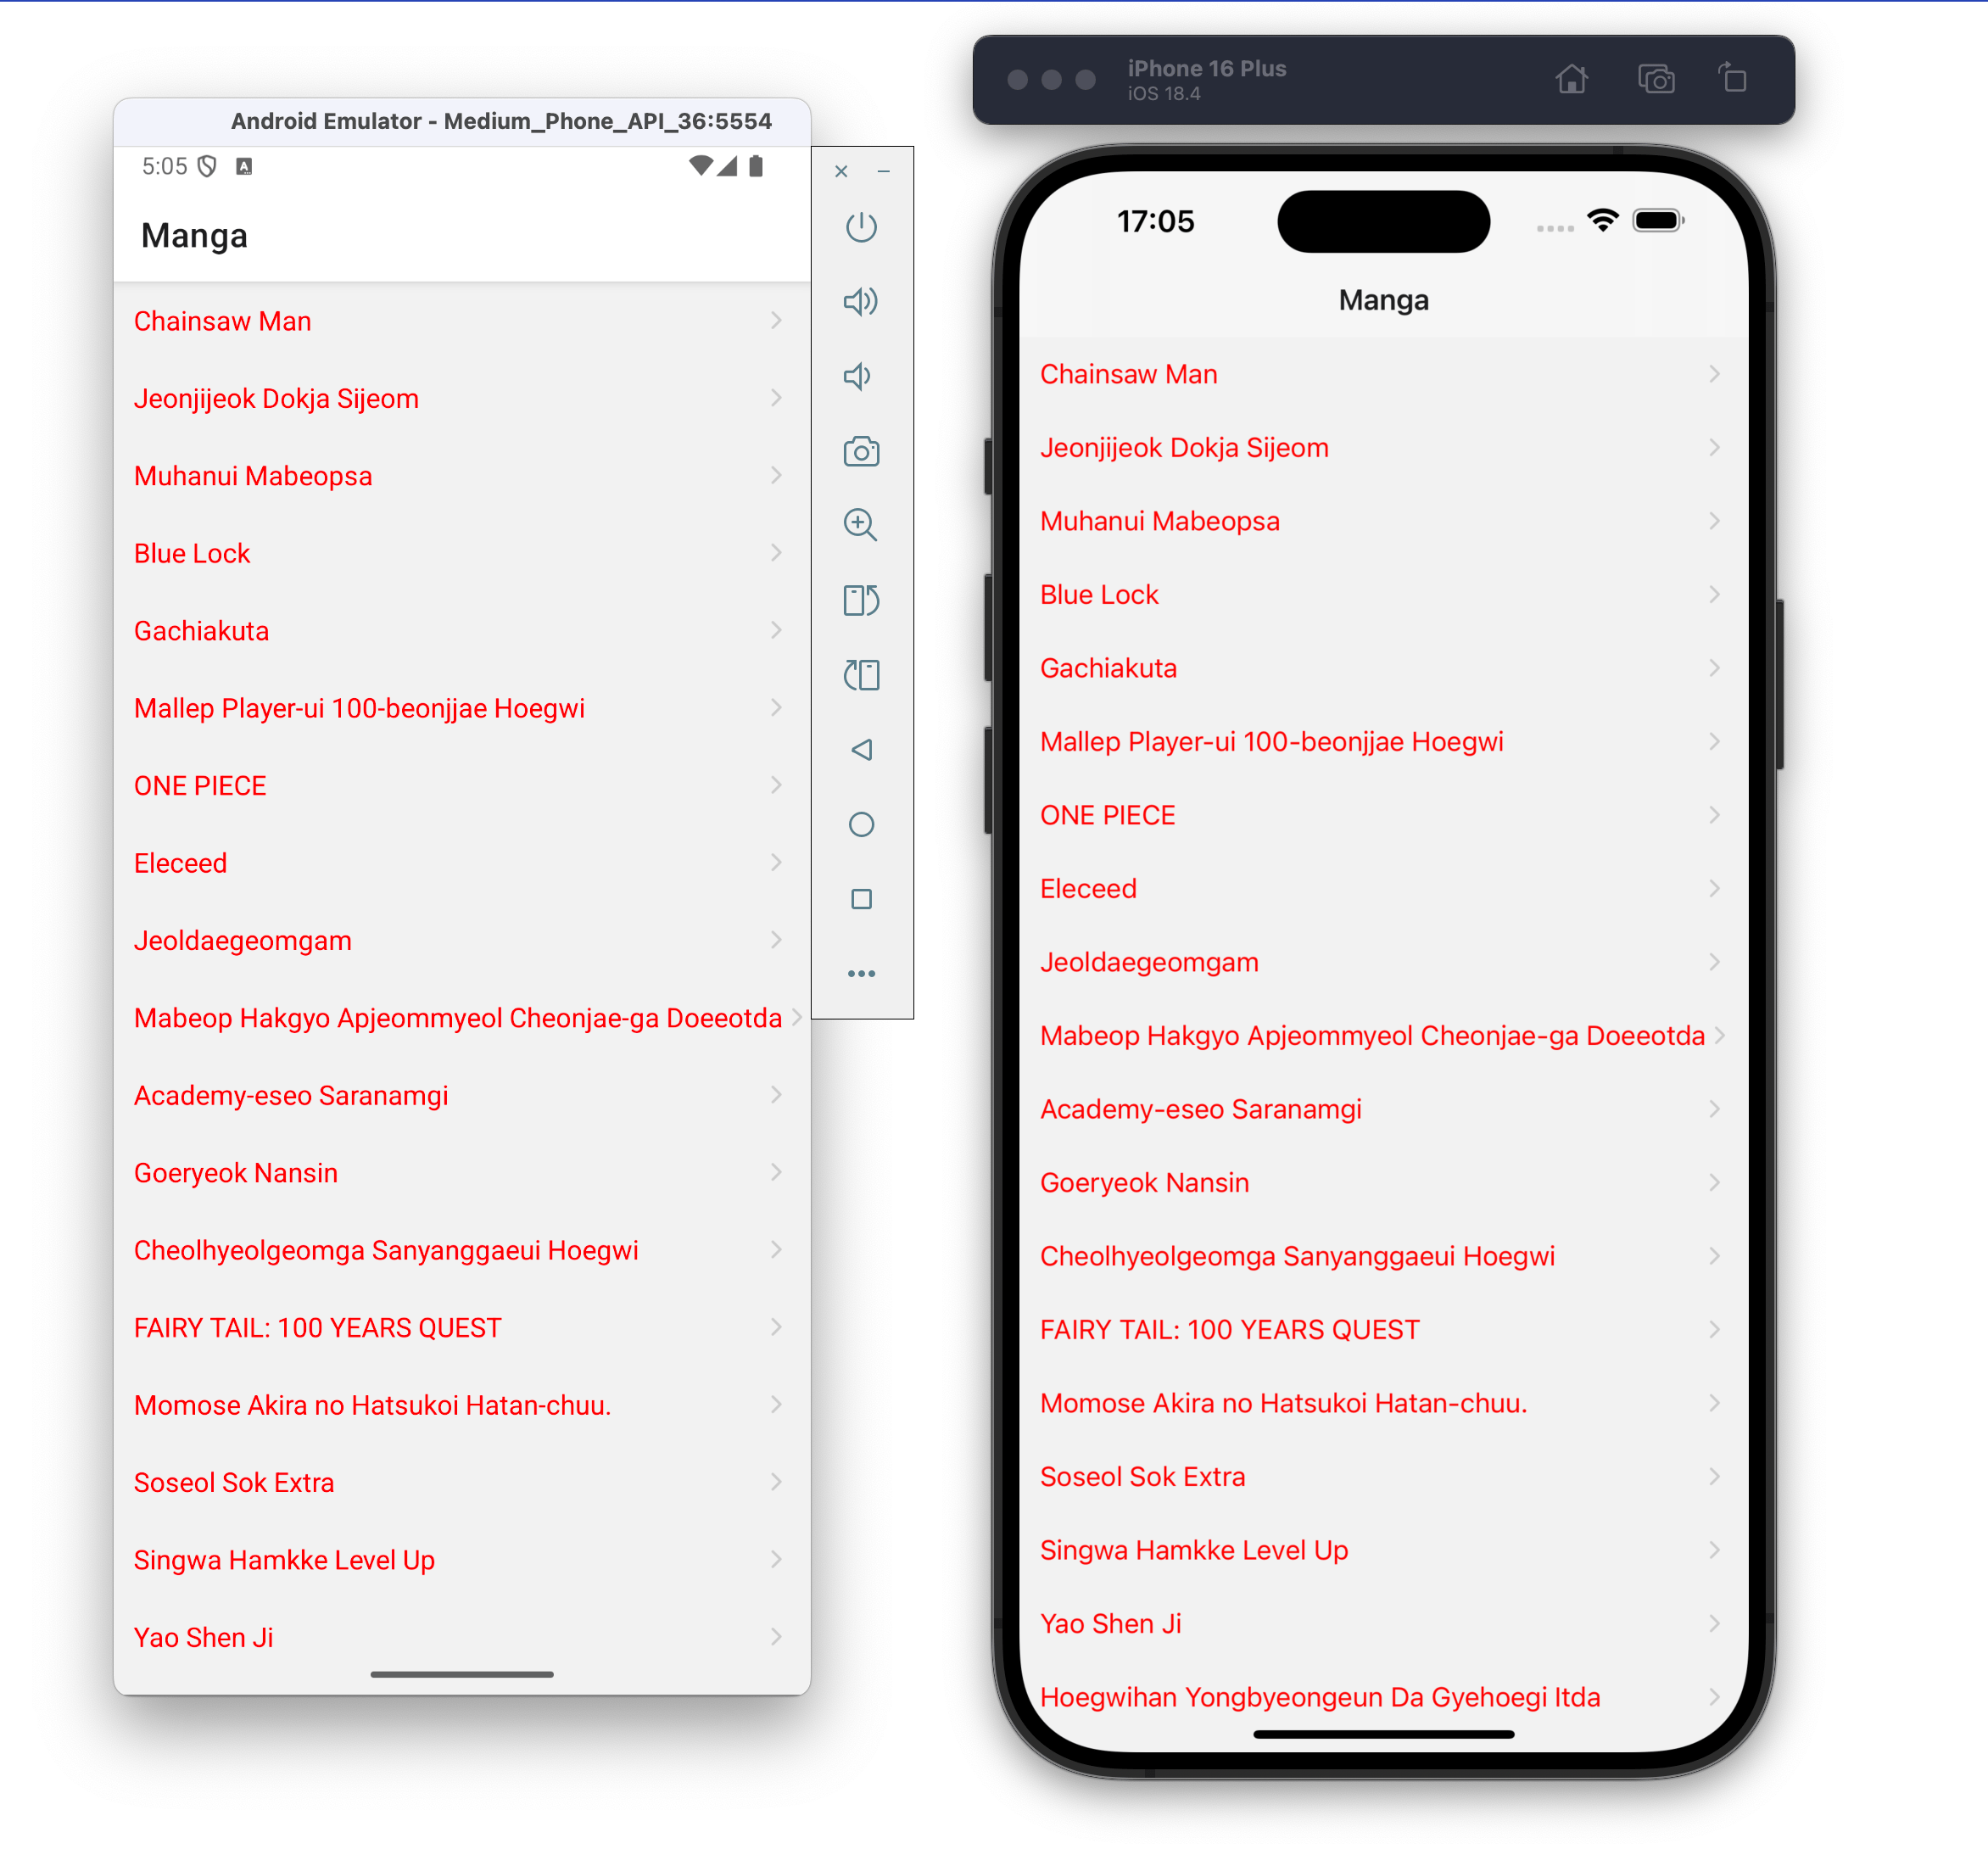
});Result of the above code is:
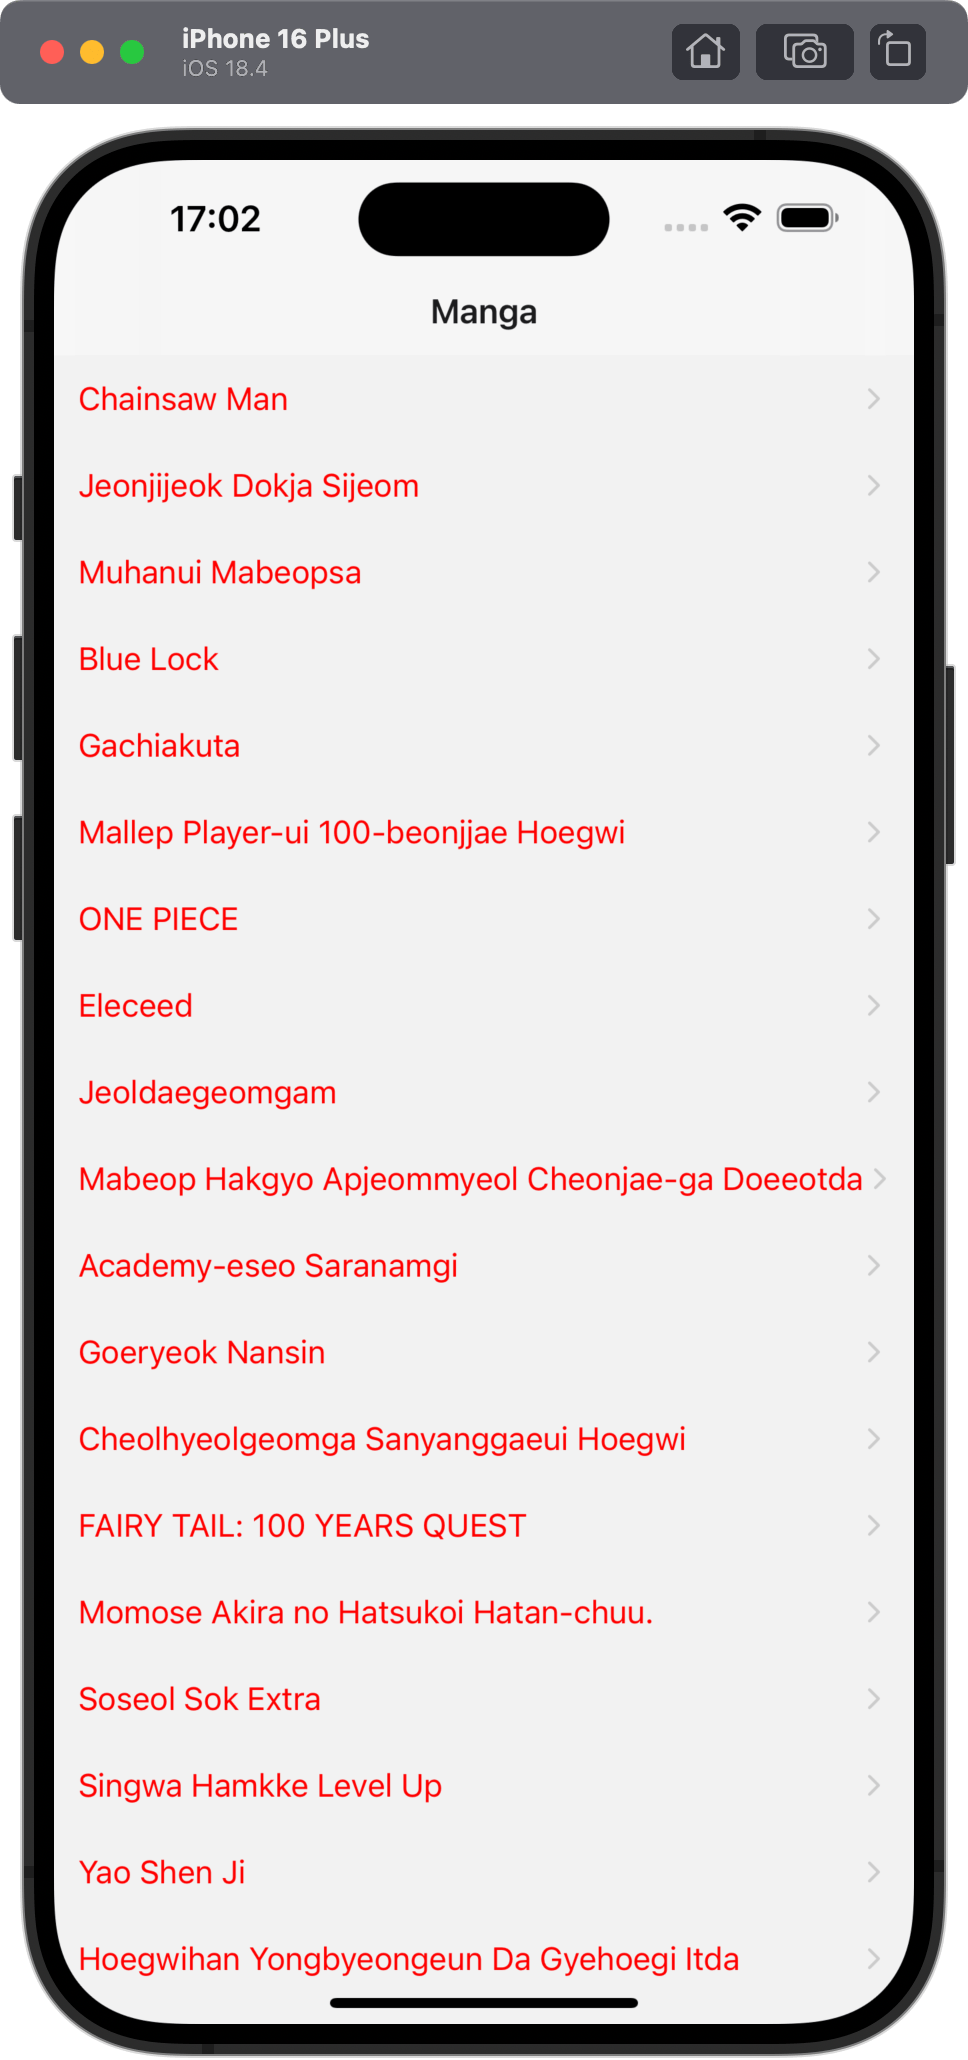
Importing useHeaderHeight from React Navigation gets called to get the exacct header height (which can vary by the device’s screen size). Then, the value of the height is applied as paddingTop to the FlatList component’s contentContainerStyle to correctly offset the content and prevent it from appearing behind the transparent header.
A key insight here is that the contentContainerStyle with paddingTop: headerHeight makes sure that the content starts after the header. The value of paddingTop is only applied to the scrollable content.
Applying blur effect only on iOS
In the first section, you learned that the blur effect does not work on Android.
To make sure the blur effect is applied only on iOS, you can use the Platform module from React Native. In app\_layout.tsx, import Platform from react-native and conditionally check if the platform is iOS to apply headerBlurEffect and headerTransparent:
// app/_layout.tsx
import { QueryClient, QueryClientProvider } from '@tanstack/react-query';
import { Stack } from 'expo-router';
import { Platform } from 'react-native';

const queryClient = new QueryClient();

export default function RootLayout() {
  return (
    <QueryClientProvider client={queryClient}>
      <Stack>
        <Stack.Screen
          name="index"
          options={{
            headerTitle: 'Manga',
            headerBlurEffect: Platform.OS === 'ios' ? 'regular' : undefined,
            headerTransparent: Platform.OS === 'ios'
          }}
        />
        <Stack.Screen
          name="[id]"
          options={{
            headerTitle: 'Manga Details'
          }}
        />
      </Stack>
    </QueryClientProvider>
  );
}
Then, in app/index.tsx, for headerHeight let’s do the similar platform check:
// app/index.tsx
<FlatList
  data={data}
  renderItem={({ item }) => (
    <Link href={`/${item.id}`} asChild>
      <Pressable style={styles.mangaItem}>
        <Text style={styles.mangaTitle}>{item.title.romaji}</Text>
        <Ionicons name="chevron-forward" size={16} color="#ccc" />
      </Pressable>
    </Link>
  )}
  contentContainerStyle={{
    paddingTop: Platform.OS === 'ios' ? headerHeight : 0
  }}
/>
Using ternary operator on contentContainerStyle ensures that padding is added only on iOS. On Android, it has a regular opaque header that doesn’t need this adjustment.
Other types of blur properties
Since Expo Router wraps React Navigation library underneath, all supported values documented in React Navigation documentation are available.
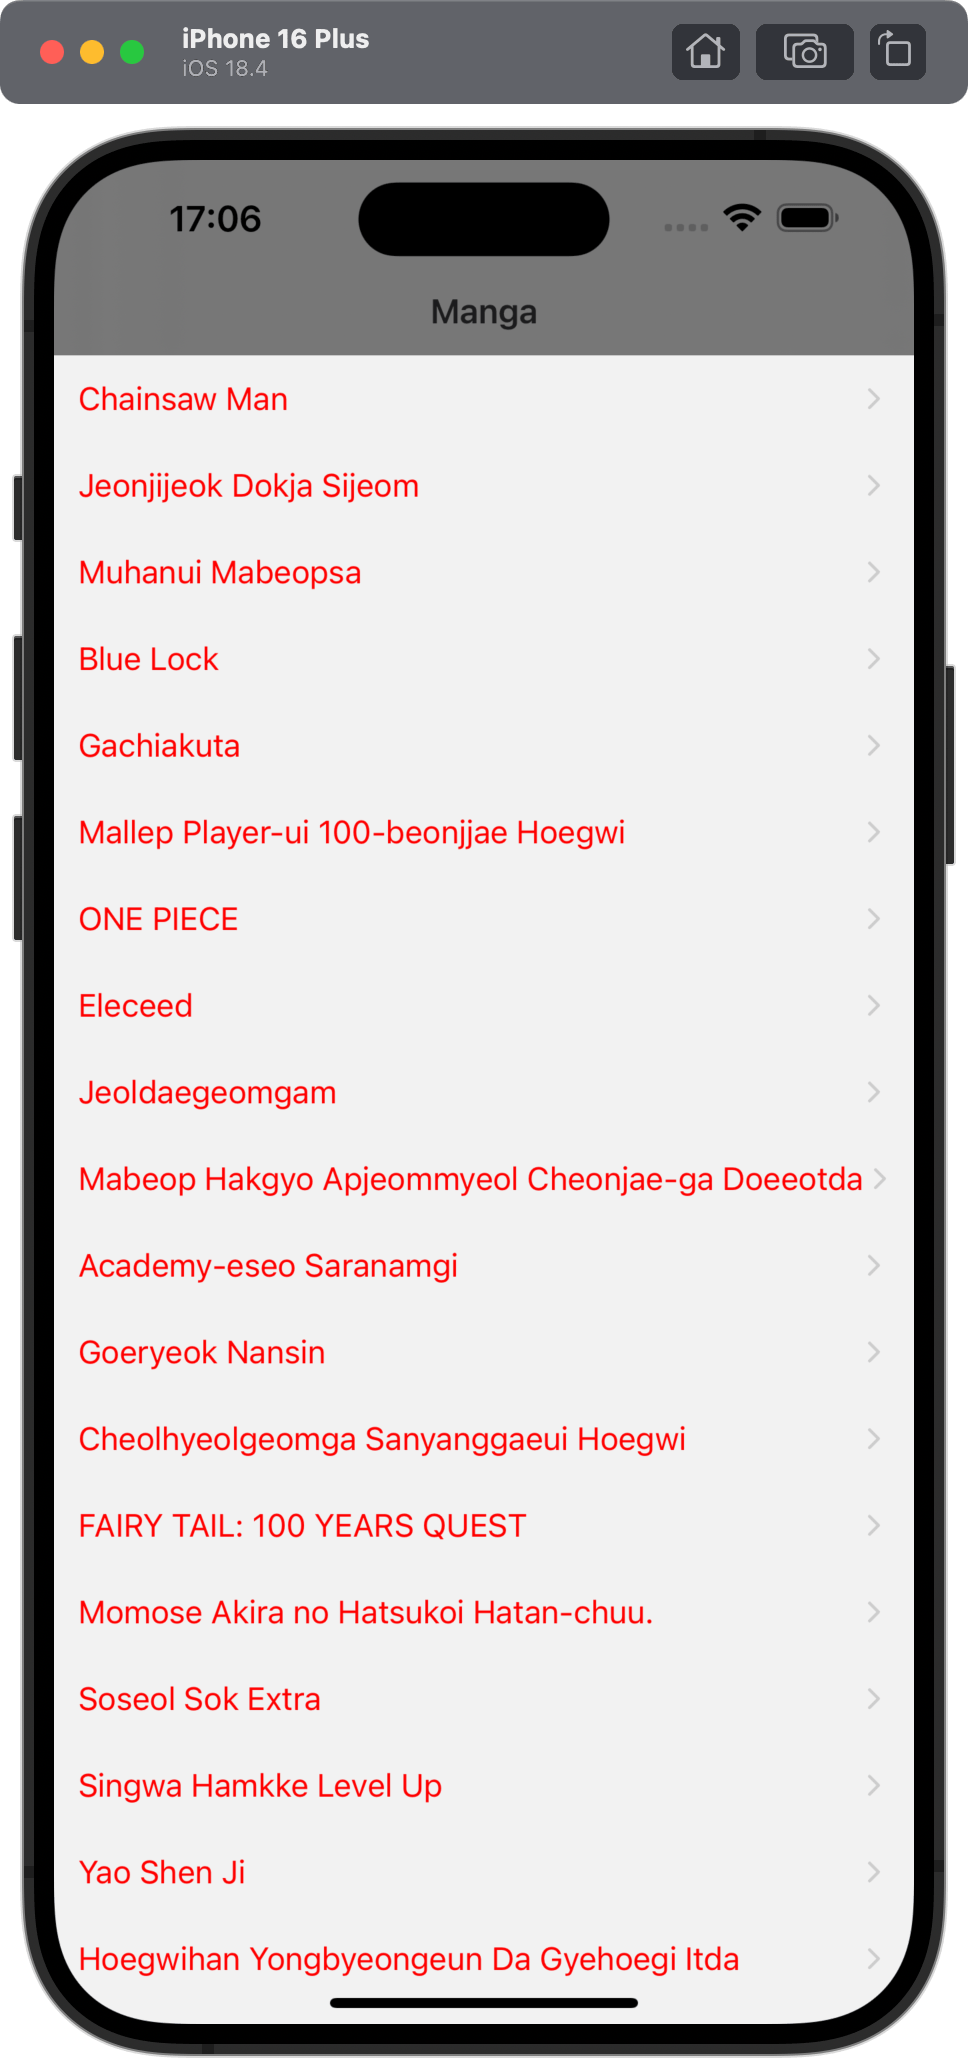
For example, if you use systemThinMaterialDark, it will be applied to the iOS app, giving a different blur aesthetic that might better match a dark-themed application:
// app/_layout.tsx
<Stack.Screen
  name="index"
  options={{
    headerTitle: 'Manga',
    headerBlurEffect:
      Platform.OS === 'ios' ? 'systemThinMaterialDark' : undefined,
    headerTransparent: Platform.OS === 'ios'
  }}
/>
Wrapping up
By combining Stack.Screen options with platform-specific code to gracefully add a fall back for Android, you can create an iOS-style blur effect for the header of your React Native app. This approach provides a native experience that users expect from modern mobile applications, with minimal code complexity and excellent cross-platform compatibility.
