React Native is a great framework to develop cross-platform mobile applications for the platforms iOS and Android. In this, I am going to take you through the process of building a “minimalist” weather application using React Native by fetching real-time data. If you have never worked with React Native, you can use this walkthrough as kickstart in your journey of becoming a mobile application developer and will be a cool project for your portfolio.
Getting Started: Requirements
You have some experience of working your way with Reactjs, you will have no problem following this tutorial. If you newbie to JavaScript or Reactjs ecosystem, I want to halt right here and go through this awesome resource that can help you with understanding the basic concepts in this tutorial. Don’t spend too much time if you are not interested in building web applications using Reactjs, just go through the nitty-gritty.
Please note that React Native is not a hybrid mobile app framework like others available. It uses a bridge between Javascript and native APIs of a specific platform. Do take a look at React Native Official Docs to read more about this.
I will be using Expo which is described as “the fastest way to build an app”. It is an open-source set of tools and services that come in handy, especially if you are getting started in the React Native world. The development tool I am going to use for Expo is Expo XDE.
Requirements summary
- You know how to write JavaScript
- Familiar with React
- Nodejs installed on your local machine
- Simple
npmcommands
That’s all. Let us get started with the development process.
Getting Started: In real this time
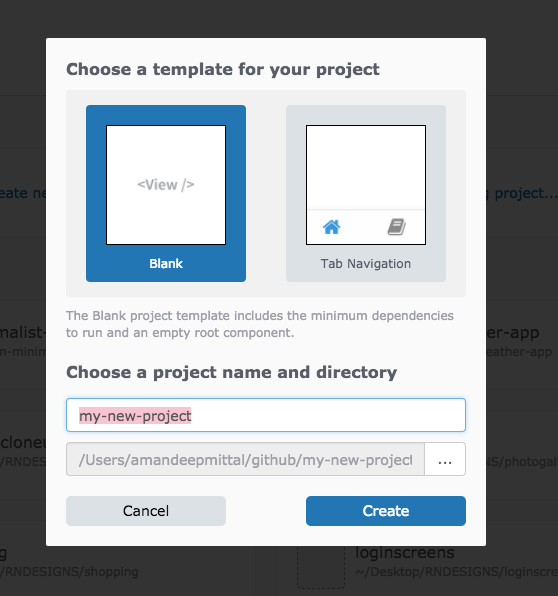
Open the Expo XDE after its installation and click on the “Create New Project”.

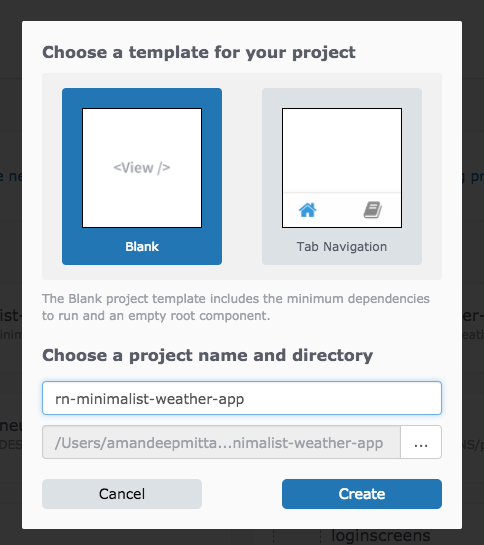
Enter the name of your application and click on “Create”. The name of the application will be in lowercase, I don’t know why, Expo XDE UI does not support uppercase characters.

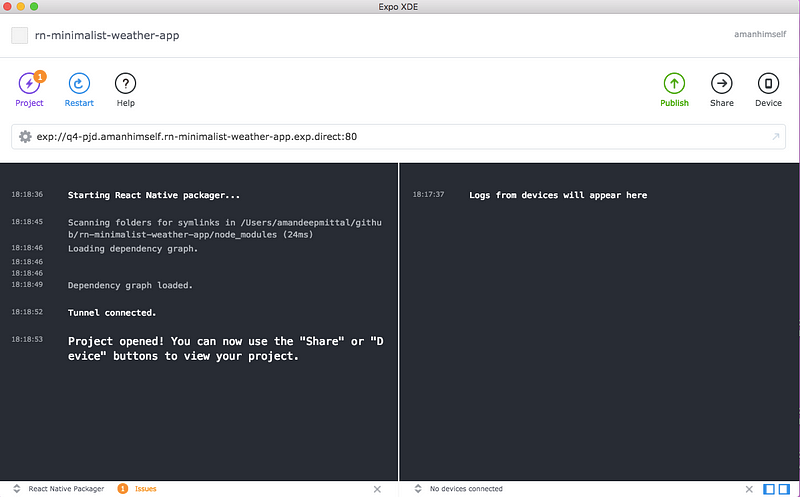
Expo, behind the scenes using React Native Package manager to simulate the application and the load dependencies from the app’s package.json file. The benefit of using Expo XDE is that you do not have to open multiple terminal windows and you can test the app while still developing on a real device. Once it is done with the process of generating a source code of our app, we can start it in a simulator on our local machine to see the default app it comes with.
If you are on Mac, make sure, you have Xcode installed. If you are using Windows, please follow the instructions to install Android Studio to run the simulator.
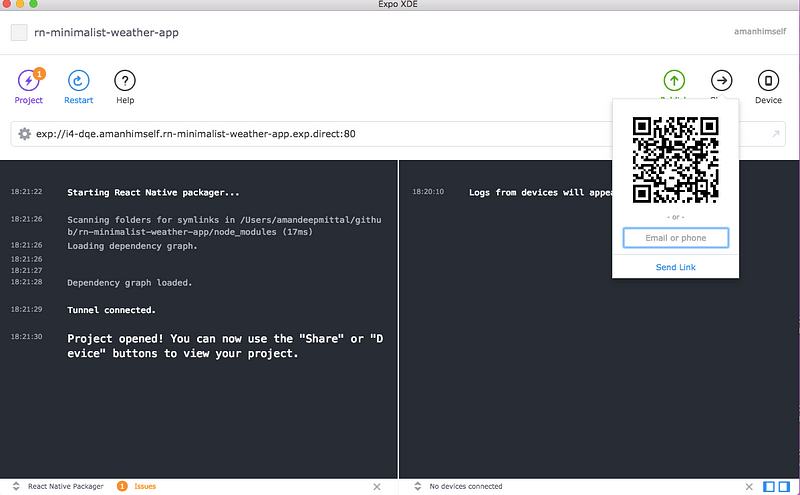
If you want to skip simulating the app and run it on an actual device without generating any .apk or .ipa, install the Expo client and scan the QR code generated by default by Expo XDE.
Once, bundling of the source code is done you will be prompt with a success message on the Expo XDE terminal:

And you will be able to see that our default app is running on the device:

The message displayed here is the same code that is rendered by App.js in the root of our app.
import React from 'react';
import { StyleSheet, Text, View } from 'react-native';

export default class App extends React.Component {
  render() {
    return (
      <View style={styles.container}>
        <Text>Minimalist Weather App</Text>
      </View>
    );
  }
}

const styles = StyleSheet.create({
  container: {
    flex: 1,
    backgroundColor: '#fff',
    alignItems: 'center',
    justifyContent: 'center'
  }
});
Change the <Text> to:
<Text>Minimalist Weather App</Text>and you will see the output being rendered and the app is reloaded live. You don’t have to refresh it to see the changes.

This completes our first getting started step. In the next step, we will build a static prototype of what our app is going to look like.
The Prototype
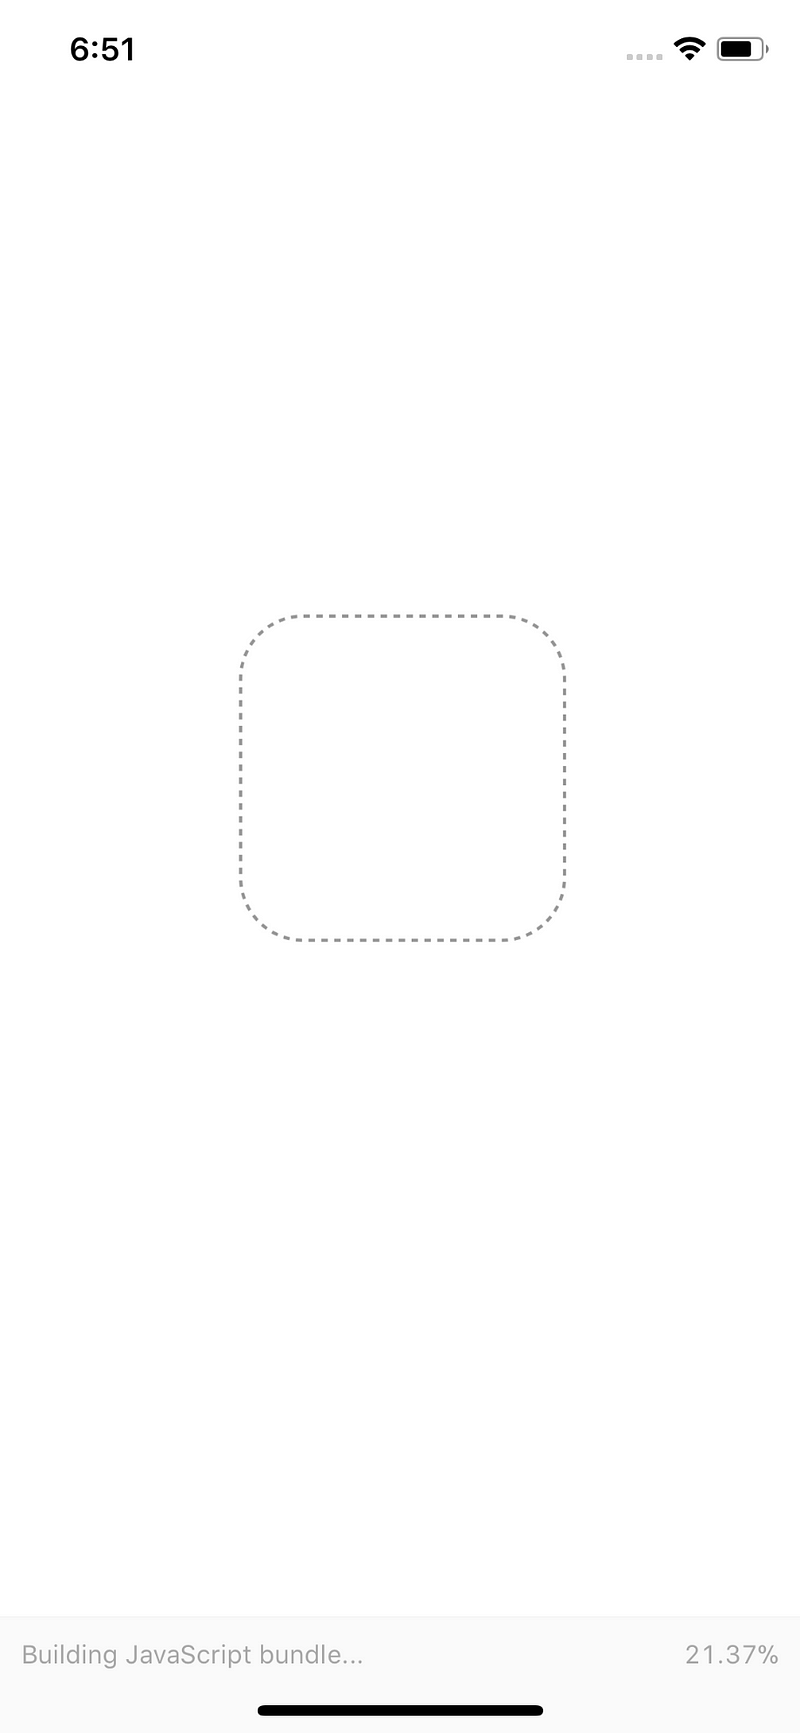
In this step, we will be developing our first screen, that is going to be loading screen.
In your App.js, define a local state:
import React from 'react';
import { StyleSheet, Text, View } from 'react-native';

export default class App extends React.Component {
  state = {
    isLoading: false
  };

  render() {
    const { isLoading } = this.state;
    return (
      <View style={styles.container}>
        {isLoading ? null : (
          <View>
            <Text>Minimalist Weather App</Text>
          </View>
        )}
      </View>
    );
  }
}

const styles = StyleSheet.create({
  container: {
    flex: 1,
    backgroundColor: '#fff',
    alignItems: 'center',
    justifyContent: 'center'
  }
});
The above code states that when our local state object isLoading is false, we will show the name of the application. This is what we are going to render. Later on, instead of displaying the name of application we will be showing the weather here once our API has successfully fetches the data. For now, I am sticking to this message because first, we are going to work on, what if our app is in the state of loading? Let’s add a text message to indicate that the app is fetching the data.
import React from 'react';
import { StyleSheet, Text, View, Animated } from 'react-native';

export default class App extends React.Component {
  state = {
    isLoading: true
  };

  render() {
    const { isLoading } = this.state;
    return (
      <View style={styles.container}>
        {isLoading ? (
          <Text>Fetching The Weather</Text>
        ) : (
          <View>
            <Text>Minimalist Weather App</Text>
          </View>
        )}
      </View>
    );
  }
}

const styles = StyleSheet.create({
  container: {
    flex: 1,
    backgroundColor: '#fff',
    alignItems: 'center',
    justifyContent: 'center'
  }
});
When our app is done loading the data from the API, we will set the state of isLoading to false.

First Screen
We will define a new Weather component at ./components/Weather.js. The boilerplate code for every weather condition screen is going to be the same. It will be divided into two views, a header, and a body. The header will show the weather condition icon and temperature and the body will display the text associated with the weather condition.
In Weather.js, we will start by defining two containers inside the main container: headerContainer and bodyContainer. Do note that we are defining Weather component not as a class but a function in order to receive props and since it will not be managing a state.
import React from 'react';
import { View, Text, Stylesheet } from 'react-native';
const Weather = () => {
return (
<View style={styles.container}>
<View style={styles.headerContainer} />
<View style={styles.bodyContainer} />
</View>
);
};
const styles = StyleSheet({
container: {
flex: 1
},
headerContainer: {},
bodyContainer: {}
});
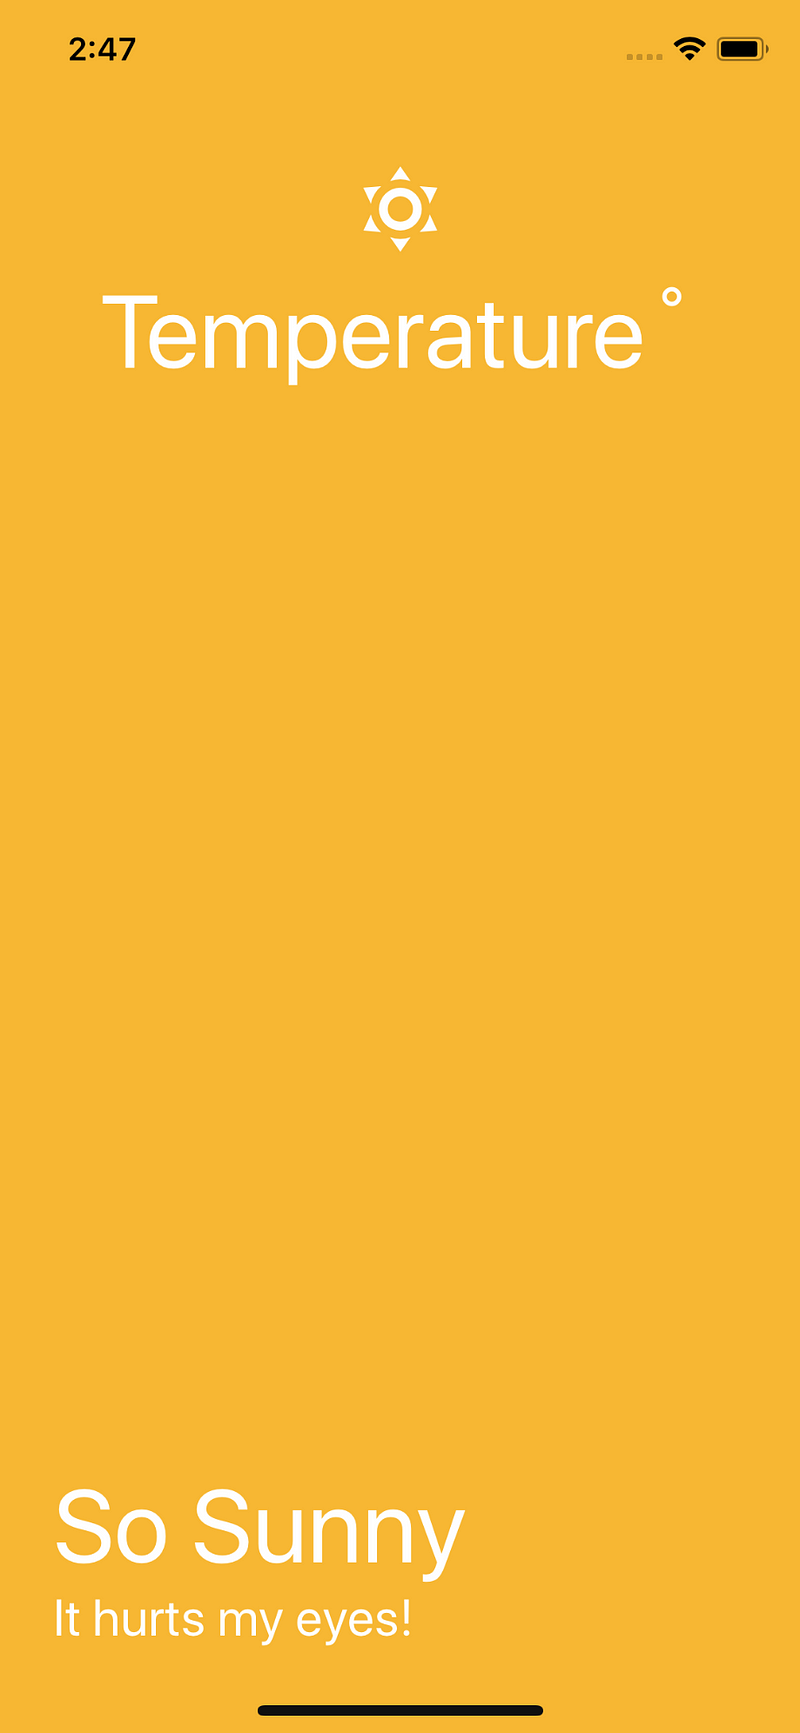
export default Weather;We will be using MatericalCommunityIcons that comes with expo (one of the perks) as a sub-library of a humongous library called vector-icons.
import React from 'react';
import { View, Text, StyleSheet } from 'react-native';
import { MaterialCommunityIcons } from '@expo/vector-icons';

const Weather = () => {
  return (
    <View style={styles.weatherContainer}>
      <View style={styles.headerContainer}>
        <MaterialCommunityIcons size={48} name="weather-sunny" color={'#fff'} />
        <Text style={styles.tempText}>Temperature˚</Text>
      </View>
      <View style={styles.bodyContainer}>
        <Text style={styles.title}>So Sunny</Text>
        <Text style={styles.subtitle}>It hurts my eyes!</Text>
      </View>
    </View>
  );
};

const styles = StyleSheet.create({
  weatherContainer: {
    flex: 1,
    backgroundColor: '#f7b733'
  },
  headerContainer: {
    flex: 1,
    alignItems: 'center',
    justifyContent: 'center'
  },
  tempText: {
    fontSize: 48,
    color: '#fff'
  },
  bodyContainer: {
    flex: 2,
    alignItems: 'flex-start',
    justifyContent: 'flex-end',
    paddingLeft: 25,
    marginBottom: 40
  },
  title: {
    fontSize: 48,
    color: '#fff'
  },
  subtitle: {
    fontSize: 24,
    color: '#fff'
  }
});

export default Weather;
This how our app looks after the prototypal stage is complete.
Fetching The Data
To fetch real-time weather data I found Open Weather Map API to be highly useful and consistent. To communicate with the API you are going to need an API key. Register yourself as a user on the site, and get your API key. Please note that it takes at least 10 minutes for Open Weather API to activate the API key. Once it is available, tag along.
Go to the API section and you will see that our need is satisfied by the Current Weather data. I am going to store my API key in ./utils/WeatherAPIKey.js file. I know not the best name for a file.
export const API_KEY = 'YOUR_API_KEY HERE';The way the Open Weather API works is that we need to provide it coordinates using device’s location in terms of longitude and latitude. It will then fetch the data from its server which will be a JSON object. From the server, right now we need two things, the temperature, and the weather condition. We should have temperature and the weather condition stored in our local state in App.js.
import React from 'react';
import { StyleSheet, Text, View, Animated } from 'react-native';

import { API_KEY } from './utils/WeatherAPIKey';

import Weather from './components/Weather';

export default class App extends React.Component {
  state = {
    isLoading: false,
    temperature: 0,
    weatherCondition: null,
    error: null
  };

  componentDidMount() {
    navigator.geolocation.getCurrentPosition(
      position => {
        this.fetchWeather(position.coords.latitude, position.coords.longitude);
      },
      error => {
        this.setState({
          error: 'Error Getting Weather Conditions'
        });
      }
    );
  }

  fetchWeather(lat = 25, lon = 25) {
    fetch(
      `http://api.openweathermap.org/data/2.5/weather?lat=${lat}&lon=${lon}&APPID=${API_KEY}&units=metric`
    )
      .then(res => res.json())
      .then(json => {
        console.log(json);
      });
  }

  render() {
    const { isLoading } = this.state;
    return (
      <View style={styles.container}>
        {isLoading ? <Text>Fetching The Weather</Text> : <Weather />}
      </View>
    );
  }
}

const styles = StyleSheet.create({
  container: {
    flex: 1,
    backgroundColor: '#fff'
  }
});
We start by importing the API key we just defined and then updating our state with temperature, weatherCondition, and error. We are using componentDidMount() a lifecycle method which helps us re-render once our API is done fetching the data. It will also help us in updating the state. We are also using JavaScript navigator API to get the current location. This is where a JavaScript API will communicate with a native one using a bridge. We pass on the values of latitude and longitude to our custom function fetchWeather where the API of Open Weather Map is called.
The result we get is in JSON format, and if you console log it, you will be able to see the result as a JSON object in Expo terminal where there are a lot of values. We only need the value of temperature and the weather condition. We then update local state with the new values obtained. &units=metric at the end of our API call converts the temperature from Kelvin to Celsius.
.then(json => {
        // console.log(json);
        this.setState({
          temperature: json.main.temp,
          weatherCondition: json.weather[0].main,
          isLoading: false
        });
Now, all we have to do is pass the value two of our local state as props to the Weather Component and then update it such that it can receive those props.
First, in App.js:
<Weather weather={weatherCondition} temperature={temperature} />Update the Weather.js:
const Weather = ({ weather, temperature }) => {
  return (
    <View style={styles.weatherContainer}>
      <View style={styles.headerContainer}>
        <MaterialCommunityIcons size={48} name="weather-sunny" color={'#fff'} />
        <Text style={styles.tempText}>{temperature}˚</Text>
      </View>
      <View style={styles.bodyContainer}>
        <Text style={styles.title}>{weather}</Text>
        <Text style={styles.subtitle}>It hurts my eyes!</Text>
      </View>
    </View>
  );
};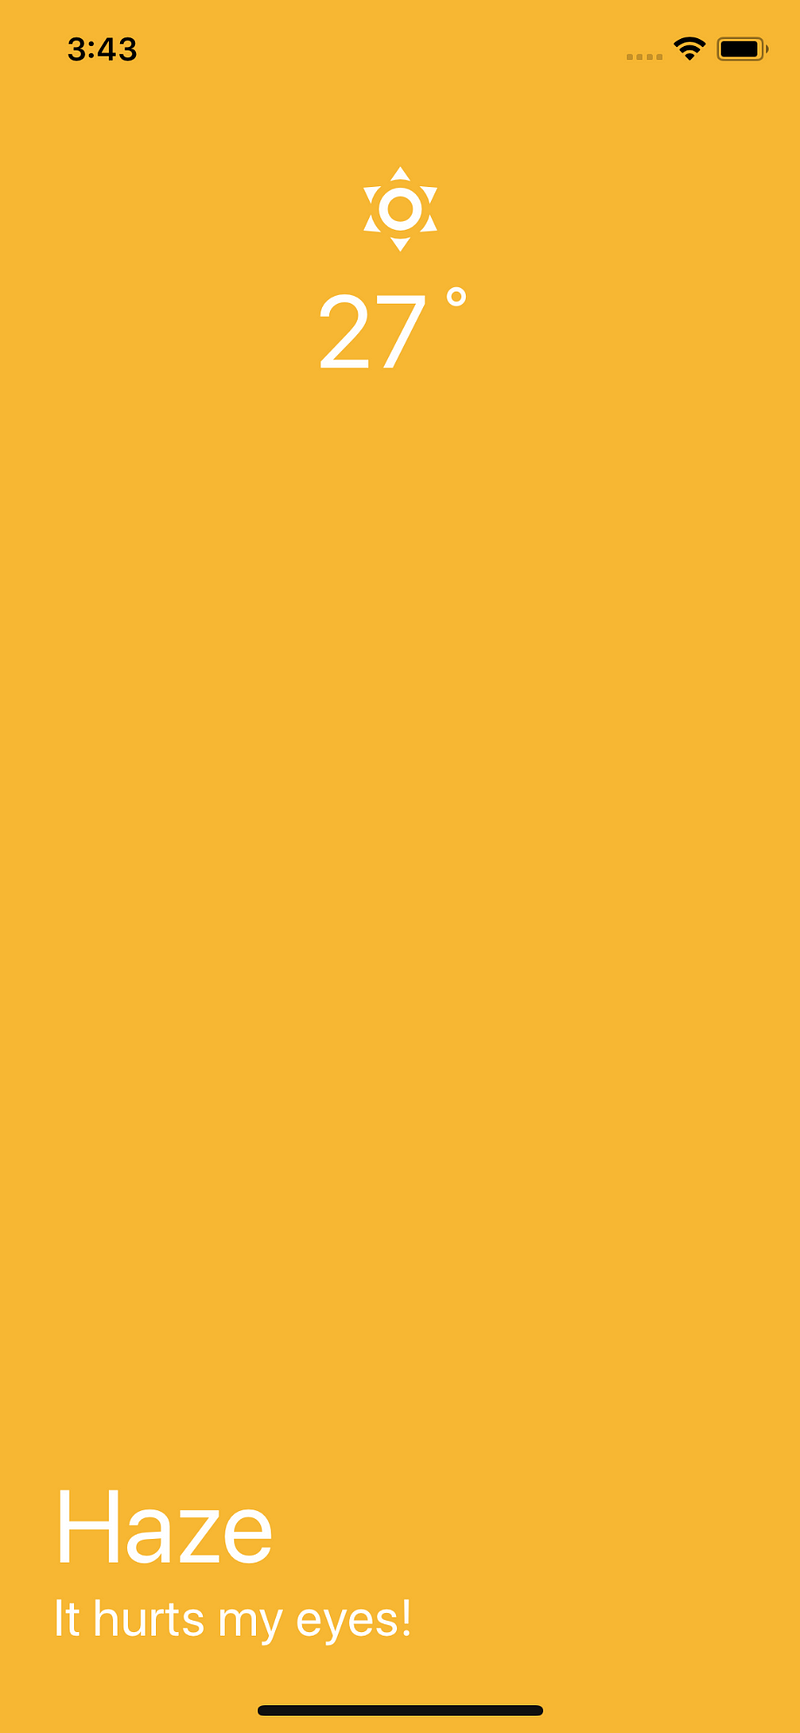
Since we have done the hard part of fetching the real-time data, we must make Weather component behave dynamically to the values it is getting. All this dynamic part is going to be associated with one thing which we are getting from our local state, weatherCondition.
Dynamic Behaviour
Using weatherCondition we can define the background changes, title, subtitle and weather icon changes. Let’s start by pre-defining weather conditions in a file ./utils/WeatherConditions.js.
export const weatherConditions = {
  Rain: {
    color: '#005BEA',
    title: 'Raining',
    subtitle: 'Get a cup of coffee',
    icon: 'weather-rainy'
  },
  Clear: {
    color: '#f7b733',
    title: 'So Sunny',
    subtitle: 'It is hurting my eyes',
    icon: 'weather-sunny'
  },
  Thunderstorm: {
    color: '#616161',
    title: 'A Storm is coming',
    subtitle: 'Because Gods are angry',
    icon: 'weather-lightning'
  },
  Clouds: {
    color: '#1F1C2C',
    title: 'Clouds',
    subtitle: 'Everywhere',
    icon: 'weather-cloudy'
  },

  Snow: {
    color: '#00d2ff',
    title: 'Snow',
    subtitle: 'Get out and build a snowman for me',
    icon: 'weather-snowy'
  },
  Drizzle: {
    color: '#076585',
    title: 'Drizzle',
    subtitle: 'Partially raining...',
    icon: 'weather-hail'
  },
  Haze: {
    color: '#66A6FF',
    title: 'Haze',
    subtitle: 'Another name for Partial Raining',
    icon: 'weather-hail'
  },
  Mist: {
    color: '#3CD3AD',
    title: 'Mist',
    subtitle: "Don't roam in forests!",
    icon: 'weather-fog'
  }
};
These weather conditions are provided from Open Weather API here. Then, let’s import this file in our Weather.js. We will also define PropTypes now for the two props we are receiving from App.js. Take a look below, it is simple.
import React from 'react';
import { View, Text, StyleSheet } from 'react-native';
import { MaterialCommunityIcons } from '@expo/vector-icons';
import PropTypes from 'prop-types';
import { weatherConditions } from '../utils/WeatherConditions';

const Weather = ({ weather, temperature }) => {
  return (
    <View
      style={[
        styles.weatherContainer,
        { backgroundColor: weatherConditions[weather].color }
      ]}
    >
      <View style={styles.headerContainer}>
        <MaterialCommunityIcons
          size={72}
          name={weatherConditions[weather].icon}
          color={'#fff'}
        />
        <Text style={styles.tempText}>{temperature}˚</Text>
      </View>
      <View style={styles.bodyContainer}>
        <Text style={styles.title}>{weatherConditions[weather].title}</Text>
        <Text style={styles.subtitle}>
          {weatherConditions[weather].subtitle}
        </Text>
      </View>
    </View>
  );
};

Weather.propTypes = {
  temperature: PropTypes.number.isRequired,
  weather: PropTypes.string
};

const styles = StyleSheet.create({
  weatherContainer: {
    flex: 1
  },
  headerContainer: {
    flex: 1,
    flexDirection: 'row',
    alignItems: 'center',
    justifyContent: 'space-around'
  },
  tempText: {
    fontSize: 72,
    color: '#fff'
  },
  bodyContainer: {
    flex: 2,
    alignItems: 'flex-start',
    justifyContent: 'flex-end',
    paddingLeft: 25,
    marginBottom: 40
  },
  title: {
    fontSize: 60,
    color: '#fff'
  },
  subtitle: {
    fontSize: 24,
    color: '#fff'
  }
});

export default Weather;
Most of the source code is same. We are now just making some additions by using available props with weather conditions and to dynamically change the background, icon, weather name, and the subtitle. You can play around with the styling to make it look more minimalistic or more exquisite, it is up to you.
Note: Before running the application on your actual device make sure you have internet access and location “on” the device for this app to work. We haven’t talked about App Permissions in this article and it is a bit out of the scope too.
The whole code for this application is available at this Github Repo. I have also published the application on Expo Store here for you to test out. Just scan the QR code and run the application to see what you will be working in this tutorial.