Setting up a new or an old Mac after resetting it can be exciting but tedious at the same time. Most time is spent downloading app installers and installing those apps, whether it is from the Apple App Store or third-party sites.
I recently learned about mas, which is short for Mac App Store command-line interface. Combining it with a brewfile setup makes the tedious process a bit more efficient by automating the installation of macOS apps.
Take a look at the following brewfile.sh, which is a bundle file and is used to brew packages, system fonts, apps from Apple App Store, and other apps.
# Install packages
brew 'mas'
brew 'direnv'
brew 'git'
# ...

# Images, Video
brew 'ffmpeg'

# Fonts
cask 'font-jetbrains-mono'
cask 'font-hack-nerd-font'

# Other apps
cask 'insomnia'
cask 'visual-studio-code'
# ...

## App Store apps
mas "Slack", id: 803453959
mas 'Bandwidth+', id: 490461369
mas 'Obsidian', id: 1410676096
Notice, under the “App Store apps” section, there is an app name, and its ID. This id is referenced from the Apple App Store.
If you know that an app already exists on the App Store, you can search its ID using mas:
mas search ObsidianRunning this command will return a list of apps with their IDs and versions, as shown below:
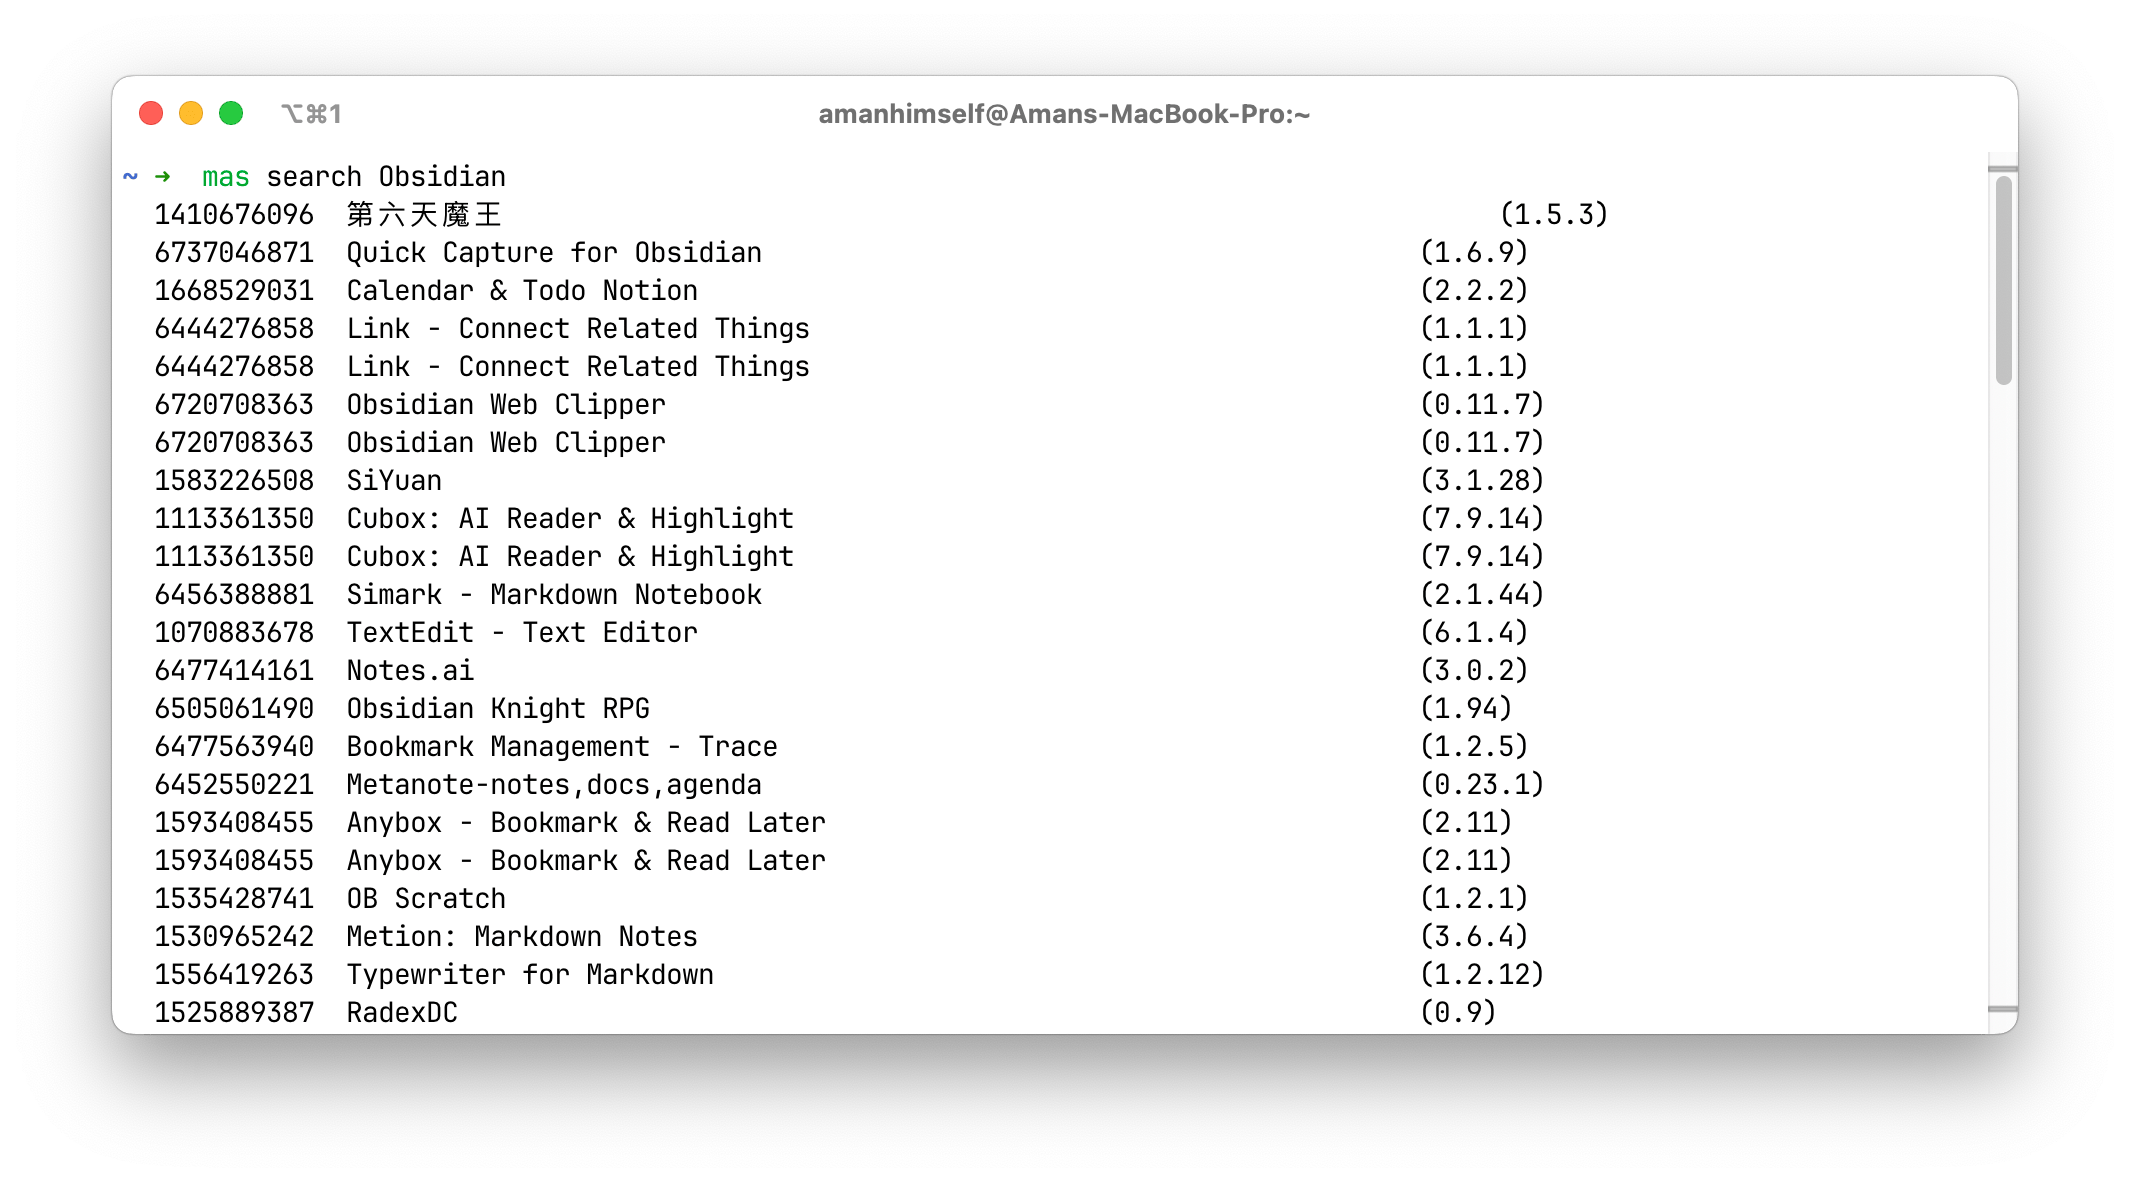
You can copy the app name and its ID and add it to your brewfile. One key point in your brewfile.sh is to install mas on your system as soon as you execute this bundle file. This is why, under the “Install packages” section of the brewfile example shown before, I am installing mas as the first thing.
This approach ensures all your essential applications, including those from the Apple App Store, are automatically installed with a single command without going through the App Store manually.
The beauty of this system is that you maintain one source of truth for your development environment, and if you have multiple machines, say, work and personal Macbook, you can use it across different machines.
