Recently, I have been working on a React Native application that demands a changeable theme based on the user selection. I wanted to do this in a simplest way possible. I have so far avoided any React Native UI toolkit such as NativeBase or React Native Elements. In the article below, I am going to share with you all about this simple recipe.
This is what we are building. By the end of this article you will have a similar looking React Native project.
Requirements
You can either clone the application to see how it works from this Github repo here to see everything working properly. Or you can follow the article step by step. It is up to you. To start, generate a react native app using a generator of your choice. We have to choices:
react-native cli- expo-cli/CRNA
I will use expo-cli for the demo purposes but you can use CRNA(Create-React-Native-Project) if you want. We need to the following dependencies to be installed in our project before we start.
- redux
- redux-logger(optional, it will be better for you to debug in case anything goes wrong)
- react-navigation
- react-native-vector-icons (only install if you are using react-native-cli)
Getting Started: Navigation
We need only two screen for the demonstration. I am going to call them Home.js and Theme.js. Both are right now contain only boilerplate code. It is good for them to be dumb until we connect them using react-navigation. Create a new file called navigation.js and import both the components.

createStackNavigator is the replacement to StackNavigator in react-navigation version 2+. Notice that, we are not passing a header to the Home Screen.
Creating a Store using Redux
Next step is to build a redux store that will make use of an action, action creator and reducer to change theme in our application. In actions.js put the following code.
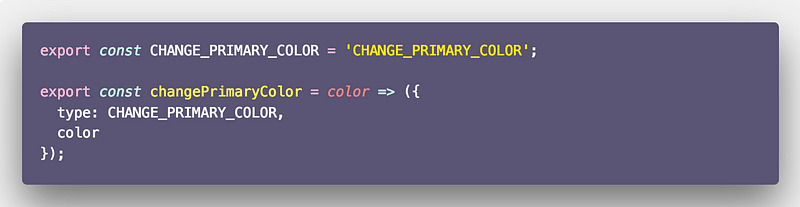
We only have one action and changes the theme color of the app. Now the reducer:
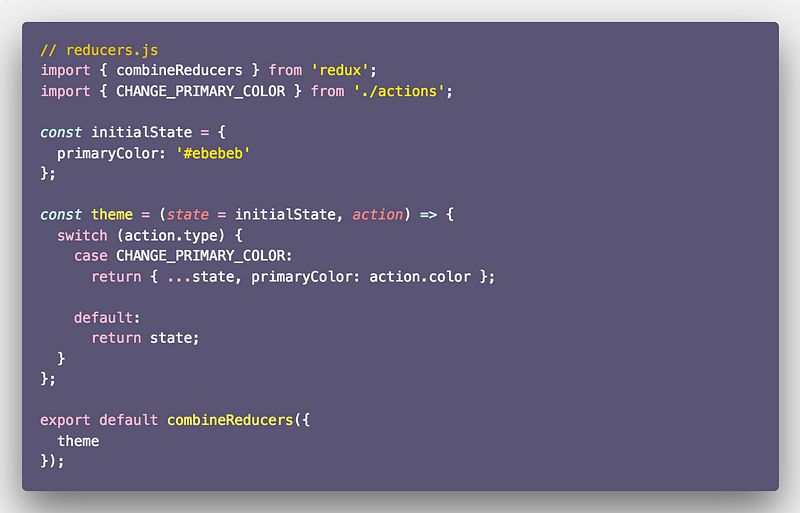
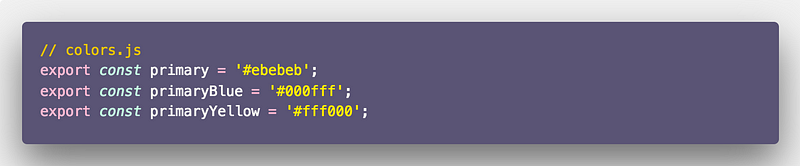
Notice that we are setting the primary color in the initial state as the hex value. You can also retrieve it from a configuration file or constants file in your application. We are also exporting the colors.js file which contains three different hex code values that define different color schemes.
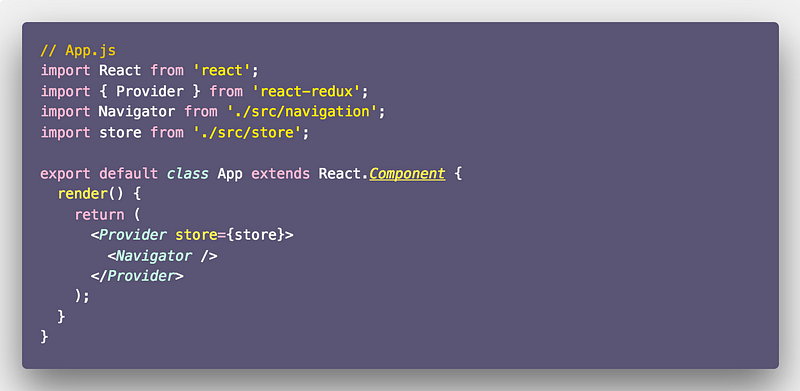
Lastly, create the store and it to App.js for the application components to use it.

Inside App.js file we connect our Redux store to manage the state as well as navigation.
You might be wondering why the heck use a Redux Store for such a small application. Well, all I am trying to demonstrate is a pragmatic approach to build a them-able application using React Native and Redux. It is your choice to manage the state.
Finalizing the App
The last components of our React Native application from where the action happens are Home.js and Theme.js.
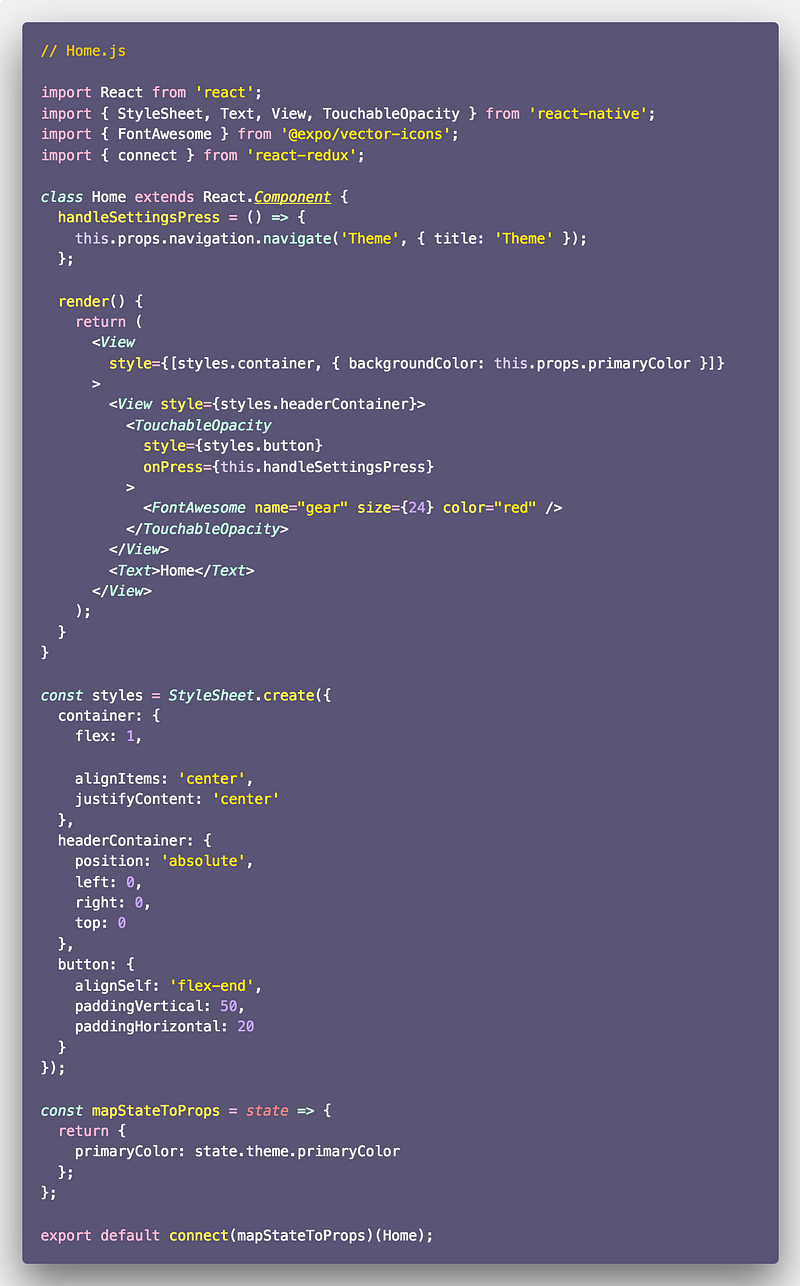
By pressing the settings icon, we can navigate to the Themes screen to change background color of the Home screen. We are also passing the title of the Theme Screen here.
The magic of changing the color is happening in Home.js at this line:
<View style={[styles.container, { backgroundColor: this.props.primaryColor }]}>We are receiving the primaryColor from the props. The Theme.js file will be changing the value of this prop on selecting a viable option. Take a look below.
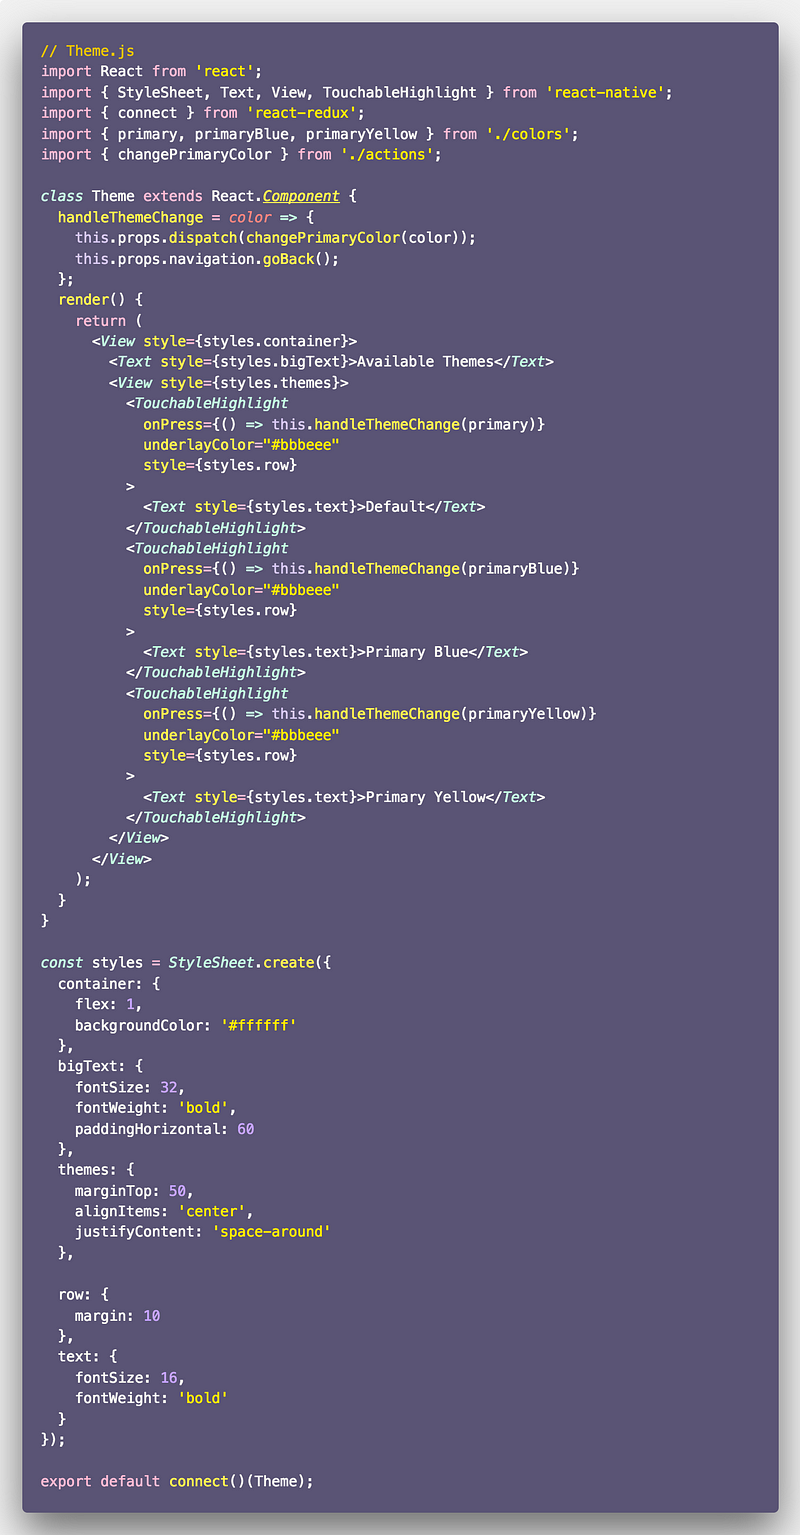
In above, handleThemeChange handles the dispatching of the only action we defined in actions.js. At last, we have our app working.
