PLEASE NOTE
At the start of the year 2019, I updated this post and re-wrote it here 👇
Getting Started with React Native in 2019: Build Your First App Learn how to build your first React Native app with important basic concepts and where to go from here.
It is more in-depth, and covers almost every basic aspect about React Native ecosystem. By reading the new post, you will also built a more advance version of a typical “hello world” app.
React Native is a framework for building mobile applications with JavaScript and leveraging ReactJS. It uses native UI components. If you are familiar with React or come from front end development background, React uses a virtual DOM which acts as a shadow to real DOM available. When an element changes, that change is reflected on the real DOM by Virtual DOM using a node that corresponds to each element. However, in React Native, there is no DOM rather than Native Components which are provided by platforms such as iOS and Android. There are no web views here.
React Native has an instance of JavaScriptCore to execute JS code when an application starts. React Native uses RCTBridgeModule to make a connection between native code and JavaScript code. It is assumed that as you dwell more in development with React Native, you might come across using a third-party SDK for a specific mobile platform. This bridging will be very helpful.
Difference between React Native and Reactjs
React Native has its own wrappers around the native components and do not make use of every HTML element. For example, <View> which is considered similar to div of HTML. This is a major difference between React Native and Reactjs. This also means that you cannot reuse every library that renders HTML and is available for Reactjs. It has its own navigation modules.
Platform Specific Designing
Designing a mobile application for multiple platforms available with the same set of code can be a bit overwhelming. In this case, a developer or a development team is left with two choices. Either they come up with a user interface that universal to their application. This means the UI of the app looks the same on every platform. However, this is not going to be the case with every application you develop. React Native can detect the platform you are running and conditions can be used to apply the styling.
Diving deeply in the bridging part or platform specific designing part of this article is out of the scope. This is written to familiarize you with the basic ecosystem of React Native but I wanted to discuss these topics briefly such that to give an idea of what you are getting into.
Developer Environment for React Native
These are required dependencies to set up a local environment and further, to develop any type of application using it, on your machine.
Dependencies required:
Note: Note that you have a Node.js version >=4.0 to continue.
To setup Native SDKs for specific platforms:
- iOS (install/have Xcode, it is free and most probably pre-installed)
- Android (I’d recommend that you follow instructions here)
The last step is to install React Native CLI using this command:
npm install -g react-native-cliThe above instructions work best if you need to build native code in your application or want to integrate React Native in an existing application. If you want to quickly prototype an application and you can use Create React Native App module that is very similar to Create React App. For Create React Native App you are not required to install above dependencies (of course you need Node.js for npm modules) and platform-specific SDKs. Facebook itself recommends using Expo client on your phone to see the app in action. I will be using react-native-cli for the brevity of the subject of this article.
Hello World with React Native
To scaffold an app, use the React Native command line interface we just installed in the previous step.
If you sneak peak inside the directory to see the structure, you will see a similar one:
react-native init HelloWorld

cd HelloWorld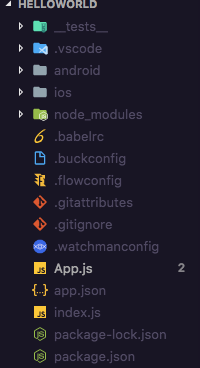
Let us try running the app before making any changes. Since I am on a mac, I will be using command:
react-native run-iosTo run the same application in an Android Emulator or device (if connected), you can use the command:
react-native run-androidSince you are running any of the above command for the first time, it takes some minutes for the app show up in an emulator. Do not worry, if everything runs successfully, it will show up.
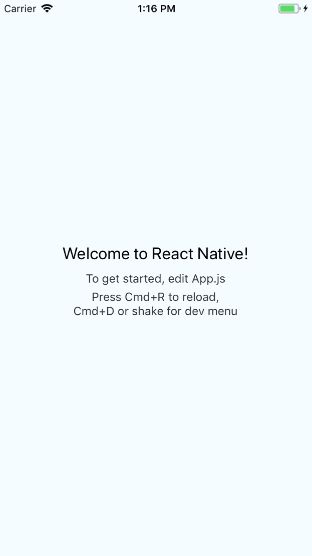
The code you see above running is available in App.js:
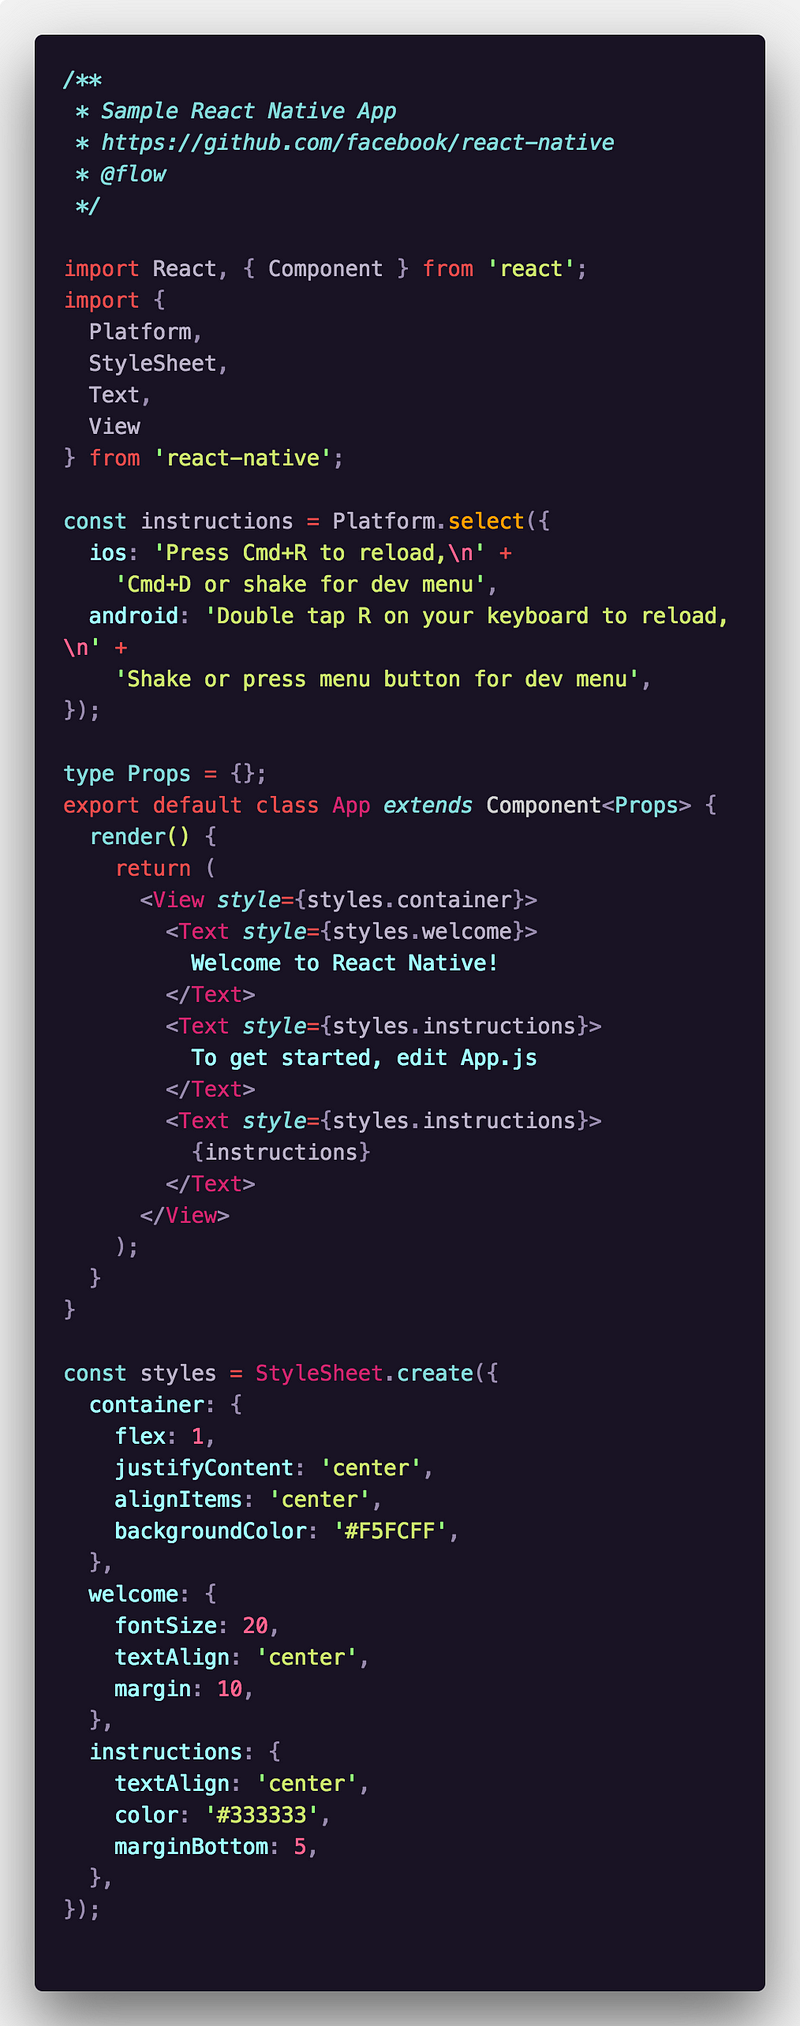
If you are familiar with Reactjs, you can easily understand this code. <View> stands for wrapper element such as div in HTML and <Text> stands for <p> in HTML.
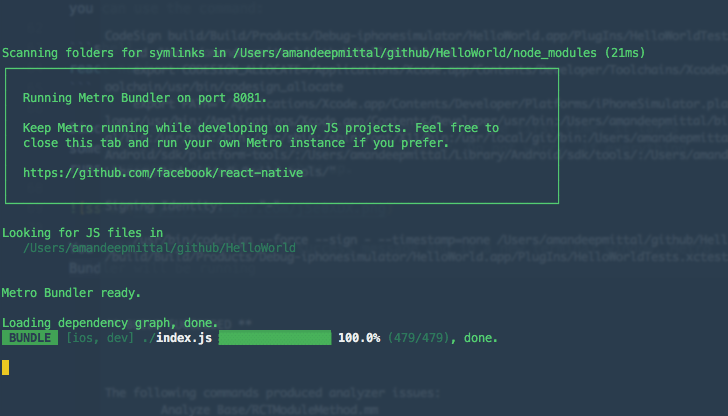
You will be prompted with a success message and in a new terminal window, Metro Bundler (developed by Facebook) will be running until the application closes.
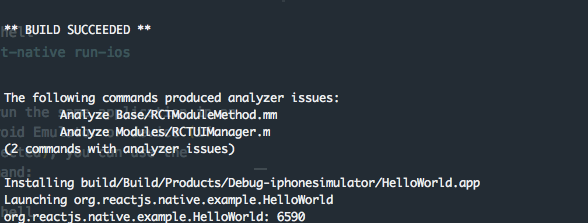
The file that renders this App component is index.js in the root directory. You will see this code:
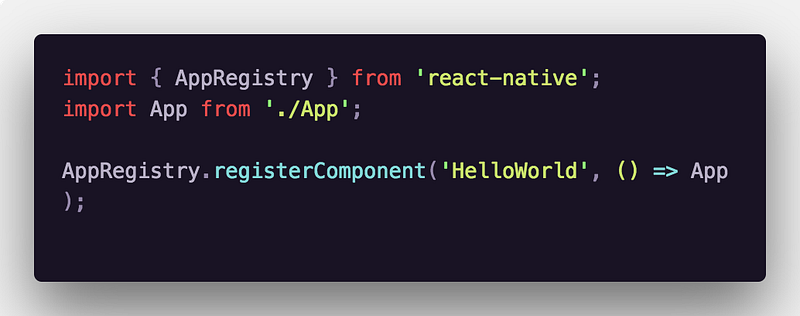
Do you notice something? There is no react-dom because there is no DOM in React Native. AppRegistry is the entry point to run a React Native application. App component or any other root component in the app should register by using AppRegistry.registerComponent such that a native system can load the bundle of the app and run the app by starting AppRegistry.runApplication.
You can read more about AppRegistry here.
You have successfully setup your first React Native application. You can read my other articles on React Native:
Link to the Github Repo for this project if you are still curious too see the how the project structure looks rather than trying it out yourself.
React Native in 2019
At the starting of the year 2019, I updated this post and re-wrote it here 👇
It is more in-depth, and covers almost every basic aspect about React Native ecosystem.