In this tutorial, we will be using Lottie with React Native. Lottie is an opensource library that renders Adobe Effects by providing easy to use animations just like static images. These animations are beautiful. Lottie is a mobile library developed by AirBnB. These animations are exported as JSON files using Bodymovin to render the natively on mobile and in web applications.
👍 for designers who spend their time contributing in LottieFiles.
Requirements
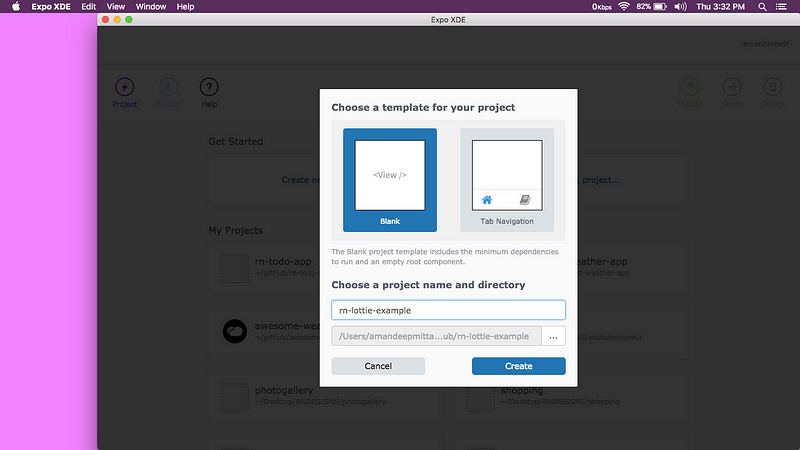
I will be using Expo XDE for brevity and to get started quickly. Create a new project using it. I am going to call rn-lottie-example but you can call whatever you want.
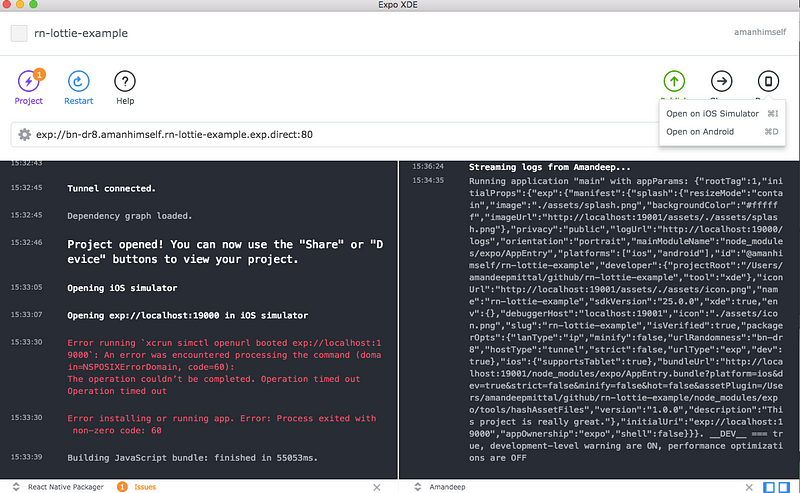
When the XDE completes running ReactNative Package Manager and builds up the project, you can go to Device dropdown menu at the right and click on whichever simulator you have installed depending on the operations system you are using. Windows users please make sure you have android studio and necessary files installed and MacOS users, please have XCode installed or up to date.
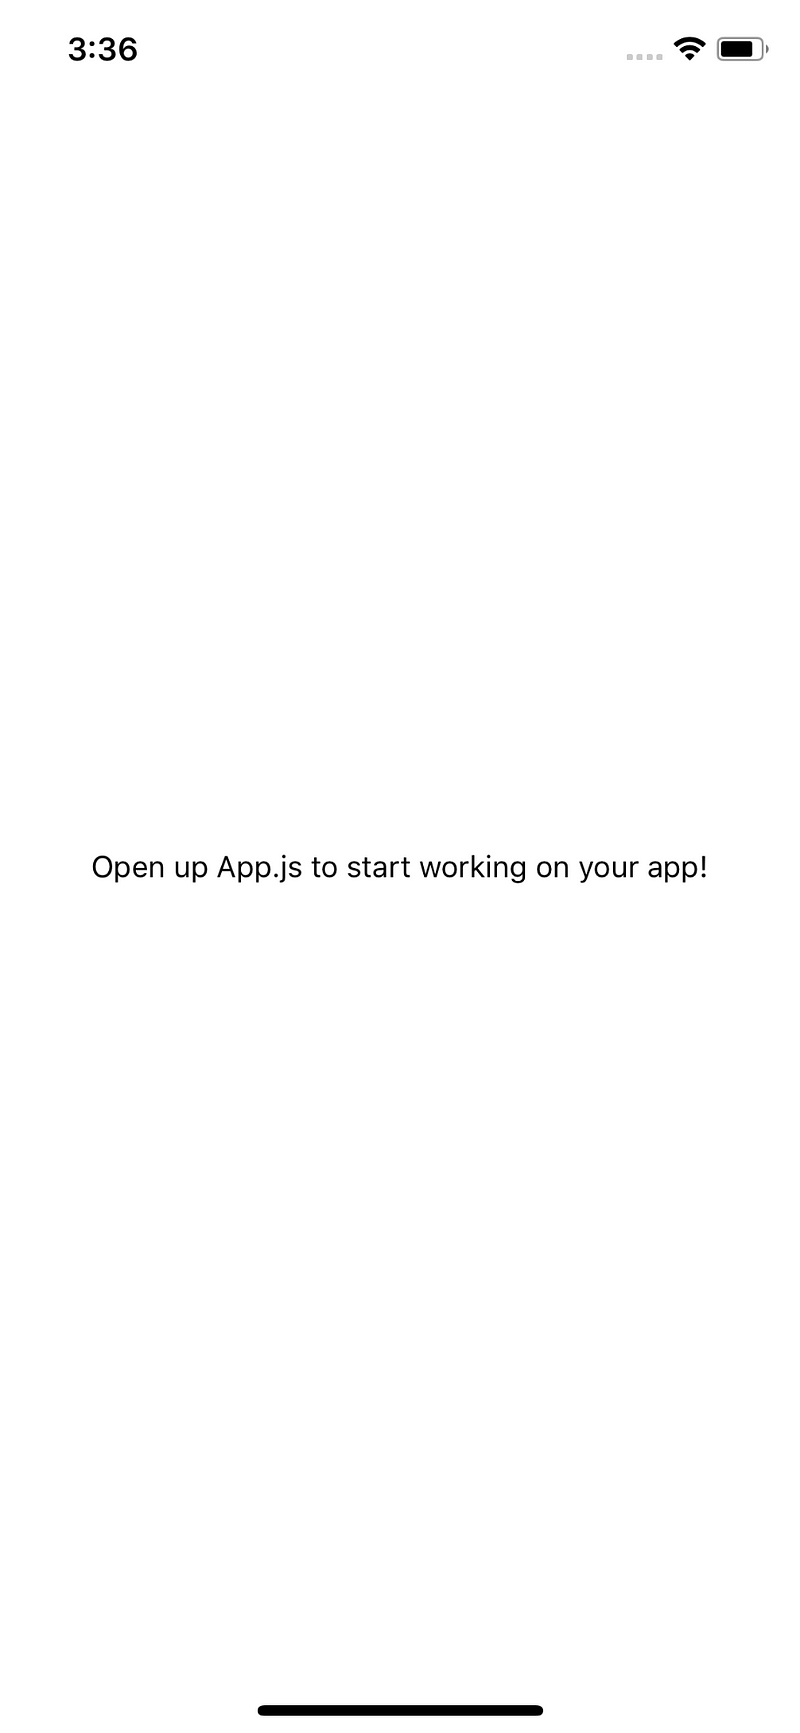
You can also view the application, by running it using Expo Client on your mobile device. Note that, depending on your internet connection, this can be slow and your mobile device and development machine must be on same wifi. Scan the QR code in Share section, you are ready to go. Once, the app is rendered, you will be welcomed by the default screen:
Now open your favorite text editor/IDE because we are going to start writing code in next section.
Getting Started
Installing Lottie as a dependency in a project can a bit tricky but fortunately, Expo provides support for it. We do not have to install anything since we are using Expo. We directly import the dependency in our App.js:
import { DangerZone } from 'expo';
const { Lottie } = DangerZone;
Sine Lottie in Expo project is in Alpha mode, do not get worried by the word DangerZone.
Include a local state in our application called animation. We will call this help in playing and restarting the animation itself. I am using this file for our animation from LottieFiles.com so you can download it. Of course, you are free to choose any other. Animations listed on the site are open source.
state = {
  animation: null
};
Later, we will using the state.animation to source the animation file fetched directly in Lottie component.
Defining the animation
We will define two custom functions: _playAnimation and _loadAnimationAsync that perform the animation and load the animation from the internet using the fetch API. We will also be pre-mounting our animation using componentWillMount() method available to us by core React. In this Life cycle method, when the state is set, it can be called before the initial render.
In general, it is used to prepare either the first render or update the state before the render. This is why we are using it. We need to update the state we defined.
componentWillMount() {
    this._playAnimation();
  }

  _playAnimation = () => {
    if (!this.state.animation) {
      this._loadAnimationAsync();
    } else {
      this.animation.reset();
      this.animation.play();
    }
  };

  _loadAnimationAsync = async () => {
    let result = await fetch(
      'https://www.lottiefiles.com/storage/datafiles/a795e9d1bd5672fd901329d51661db5c/JSON/location.json'
    );

     this.setState(
      { animation: JSON.parse(result._bodyText) },
      this._playAnimation
    );
  };
Inside, _loadAnimationAsync() we use JavaScript’s fetch API to get the animation from its source. This does mean, that the animation is coming from internet so if you are testing on your mobile device, make sure you have access to internet.
This how our render function looks like:
render() {
    return (
      <View style={styles.container}>
        <View style={styles.animationContainer}>
          {this.state.animation && (
            <Lottie
              ref={animation => {
                this.animation = animation;
              }}
              style={styles.loadingAnimation}
              source={this.state.animation}
            />
          )}
        </View>
      </View>
    );
  }
We separately define styling for the overall container and the animation. To load the animation, we will set its backgroundColor to transparent in order to remove any background color it has by default.
const styles = StyleSheet.create({
  container: {
    flex: 1,
    backgroundColor: '#fff',
    alignItems: 'center',
    justifyContent: 'center'
  },
  animationContainer: {
    backgroundColor: '#fff',
    alignItems: 'center',
    justifyContent: 'center',
    flex: 1
  },
  loadingAnimation: {
    width: 400,
    height: 400,
    backgroundColor: 'transparent'
  }
});
You can see the application working
This tutorial shows how you can get started with Lottie animation library using React Native and Expo. There are other ways to define animations and you can go in-depth as much as you want. This article is written for a beginner’s point of view.
For alternative to Lottie, you can check Facebook’s Keyframes that also uses Adobe After Effects to create one.
Complete code of our demo application:
import React from 'react';
import { StyleSheet, Text, View } from 'react-native';
import { DangerZone } from 'expo';
const { Lottie } = DangerZone;

export default class App extends React.Component {
  state = {
    animation: null
  };

  componentWillMount() {
    this._playAnimation();
  }

  _playAnimation = () => {
    if (!this.state.animation) {
      this._loadAnimationAsync();
    } else {
      this.animation.reset();
      this.animation.play();
    }
  };

  _loadAnimationAsync = async () => {
    let result = await fetch(
      'https://www.lottiefiles.com/storage/datafiles/a795e9d1bd5672fd901329d51661db5c/JSON/location.json'
    );

    this.setState(
      { animation: JSON.parse(result._bodyText) },
      this._playAnimation
    );
  };

  render() {
    return (
      <View style={styles.container}>
        <View style={styles.animationContainer}>
          {this.state.animation && (
            <Lottie
              ref={animation => {
                this.animation = animation;
              }}
              style={styles.loadingAnimation}
              source={this.state.animation}
            />
          )}
        </View>
      </View>
    );
  }
}

const styles = StyleSheet.create({
  container: {
    flex: 1,
    backgroundColor: '#fff',
    alignItems: 'center',
    justifyContent: 'center'
  },
  animationContainer: {
    backgroundColor: '#fff',
    alignItems: 'center',
    justifyContent: 'center',
    flex: 1
  },
  loadingAnimation: {
    width: 400,
    height: 400,
    backgroundColor: 'transparent'
  }
});
You can also find the complete code at this Github repo, in case you just want to play around this concept.
