Building a REST API with Koajs

There are quite a few Node.js frameworks available for web development to build a back-end server for a web or a mobile application. The most popular framework is ExpressJS, which has been used widely in the industry for a long time.
In this article, however, we are going to discuss Koa, to write server-side code that uses Node.js as the runtime engine. In this tutorial, I will show how to build a small REST API then test it using a REST Client.
What is Koa?
🔗Koa is designed and built by the team behind ExpressJS with additions such as promises and async/await support in its core. These ES2015 features are used to tackle API's asynchronous calls. Distributed as a lightweight Node.js framework, Koa provides a minimal interface for developing web applications and APIs.
Koa has features that help JavaScript developers who want to use and leverage Node.js to accelerate the development of APIs and web applications. I have been using Koa for some of my latest back-end applications and I would love to share my knowledge to get you started.
Features of Koa
🔗Some of the features of the Koa framework include:
- Designed as a lightweight and flexible framework for Node.js
- Support for ECMAScript 6 (/ES2015) by default
- Developers can use generators as functions to stop and resume the code execution
- Simplifies the use of Error handling by using middleware more effectively
- Identifies and understands all HTTP methods
- Even before Express, Koa had support for
async/await
To use this framework, the only two requirements for running the code examples below are to have Node.js installed in your local machine along with npm to access and install it as a dependency. The second requirement is to have a general understanding of JavaScript as a programming language.
Getting Started
🔗To start using Koa as a server-side framework you will have to first install it. Create a directory where you will want to place all the project-related files. We will first initialize it as a Node.js project.
# First initialize an empty directorynpm init -y
This will help us generate a package.json file that holds all the records of dependencies we add to our project using npm. I am using the -y flag to skip the questionnaire prompted by npm. You will get a similar result once it is done.
The next step is to add Koa as a local dependency. I am sure you know what a local dependency here means. If not, please refer to [npm](https://docs.npmjs.com/) documentation.
npm install -S koa
So far so good. Now we can get started and build our application. However, please note that to use Koa either on your local machine or deploy any server-side project that uses it, you need to have a Node.js version equal to or greater than _v7.6.0_.
Our First Koa App
🔗To understand Koa better, and point out the differences with a commonly used framework such as ExpressJS, we are going to first write an obligatory Hello World program.
Below, we create a route in a file called app.js.
1// app.js2const Koa = require('koa');3const app = new Koa();45// Our First Route6app.use(async ctx => {7 ctx.body = 'Hello World';8});910// Bootstrap the server11app.listen(3000);
Now, open the terminal and run the following command:
1node app.js
If you are not prompted with an error, that means the server ran successfully.
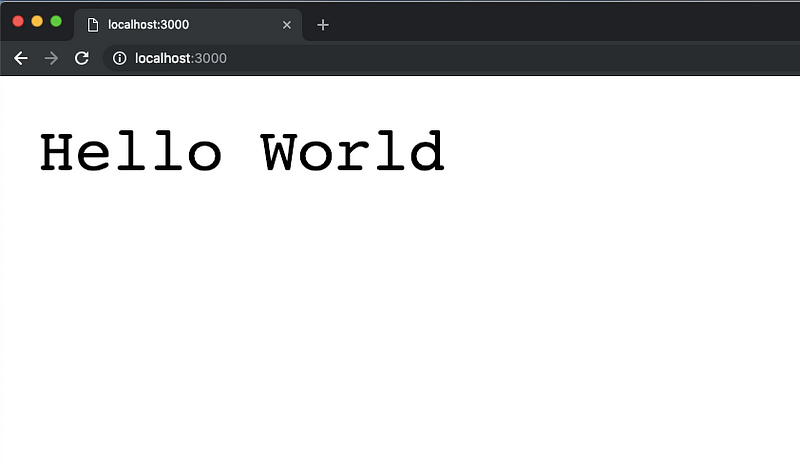
Right now, we are not getting anything exciting from the terminal. If you go to http://localhost:3000 in your browser window, you should see a Hello World message greeting you!
To understand more about what is happening, let’s import the Koa library into our app.js file.
Next, we define an instance called app that will access all the methods that are included in Koa's API such as use() and listen(). app.use() is how th middleware function is defined. We are using this middleware function as a route. The app.listen() is how the server knows to run on a port number specified such as 3000.
Wait, what is ctx?
🔗Another important feature that we use in our bare minimum example is ctx. I do hope you noticed it there.
We are using ctx as an argument to the asynchronous middleware function. It is called Context in Koa and it encapsulates request and response objects into a single object. Unlike ExpressJS, that requires request and response as separate objects passed as arguments. For example:
1// request and response objects in ExpressJS23app.use((request, response) => {4 // ... rest of the route5});
In Koa, a context is created for every request that comes to the server and is always referenced as middleware.
1// request and response as context in Koa2app.use(async ctx => {3 ctx.request;4 ctx.response;5});
Side Tip: Installing nodemon
🔗Before I start on REST APIs, the core of the article, I want to introduce a great tip that is helpful in building a Node.js application. During the development mode, irrespective of the framework I am using, I use nodemon as a dependency to watch for file changes and automatically restart the application. This eliminates the need to run node [filename].js` command again and again. You can totally, skip this step and move on to the next one where I show the steps for writing the REST API.
This small utility has such an impact on my workflow that it saves hours of development chores. So let me show you how to set it up in our demo application. I am using the same project as previous Hello World example to demonstrate this. Write the following command to install it.
npm install -D nodemon
-D flag is used to tell npm to install the current dependency as a devDependency. The difference between it and a normal dependency is that devDependencies tend to work only in development environment. They are not installed in a production environment since there is no use of them there. Other types of devDependencies you might come across when writing Node applications are linting tools such as ESLint.
Once, nodemon is installed, append the package.json file and an npm script.
1"scripts":{2 "dev": "nodemon app.js"3}
Point this script to the initial file of the Koa application, in our case, it is app.js. To run the application now, all you have to type is npm run dev command in your terminal. This time, you will see a few messages suddenly prompted in the terminal. These messages are provided by nodemon.
Building the REST API
🔗Finally, you have arrived at the point where you can start building the REST API. You have to install dependencies for the API to work. Let’s install them.
npm i -S koa-body koa-router
What are these dependencies for?
koa-body is a body-parser middleware. It supports urlencoded, multi-part and json request bodies. Basically, it helps to create and respond to HTTP POST requests which are available as a form field, or a file upload, etc. It tells the server that the incoming request from the client has a body of data. ExpressJS uses the same approach in handling body requests.
koa-router is the routing middleware that provides ExpressJS style routing using HTTP verbs. It has methods that you can directly use in the application Such as app.get(), app.post(), etc.
Note: I will be mocking data in this application for the sake of brevity and a clear understanding of the framework’s concepts. If you want to, you can use the database of your choice. The structure of the data is not complex.
Write the following code in the app.js file.
1// app.js23const Koa = require('koa');4const koaBody = require('koa-body');56// create app instance7const app = new Koa();89// middleware functions10app.use(koaBody());1112// Require the router here1314// use the router here1516app.listen(3000);
After body-parser middleware, you are going to have the routes. I am using another file to describe the routes to separate the code for a clear understanding. Create a new file called books.js. Define the following inside that file with the data to mock.
1// books.js23const Router = require('koa-router');45// Prefix all routes with: /books6const router = new Router({7 prefix: '/books'8});910let books = [11 { id: 101, name: 'Fight Club', author: 'Chuck Palahniuk' },12 { id: 102, name: 'Sharp Objects', author: 'Gillian Flynn' },13 { id: 103, name: 'Frankenstein', author: 'Mary Shelley' },14 { id: 101, name: 'Into The Wild', author: 'John Krakauer' }15];1617// Routes will go here1819module.exports = router;
First, I am importing the necessary dependency to create routes: koa-router. The next step is to create an instance of this newly imported dependency. Notice the prefix part: /books. Using a prefix for the routes is how you can define and categorize different routes. You can also use this technique to classify the different API versions such as v1, v2, etc.
The books array is the mock data. It contains information about books and each book is represented by a separate object inside the array. Each object further has three data fields: id, name, and author.
Let’s build the first route of our API.
Creating a route to handle GET request
🔗Below is the code for handling a GET request in Koa. Add the following code to books.js.
1// books.js2router.get('/', (ctx, next) => {3 ctx.body = books;4 next();5});
The callback function that is attached to the router.get() contains two arguments. I have already explained to you what ctx or context is. The last argument is next(). This is often used in middleware functions. Any middleware function invokes this function to indicate the current middleware function has suspended running and the next middleware function available must be invoked.
This callback function traverses through the books array when to send the response. To run this, you have to first include the routes file in app.js and invoke them.
1// app.js2const Koa = require('koa');3const koaBody = require('koa-body');45const app = new Koa();67// Set up body parsing middleware8app.use(koaBody());910// Require the Router we defined in books.js11let books = require('./books.js');1213// Use the Router on the sub route /books14app.use(books.routes());1516app.listen(3000);
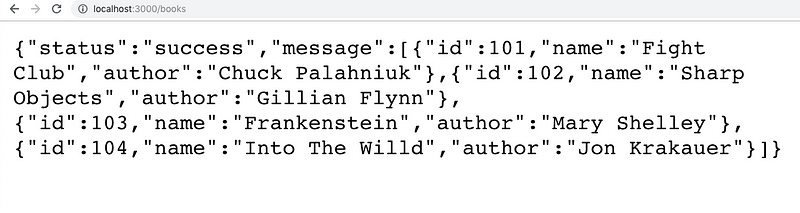
Next step is to run the command: npm run dev and visit the url http://localhost:3000/books to see the following result.
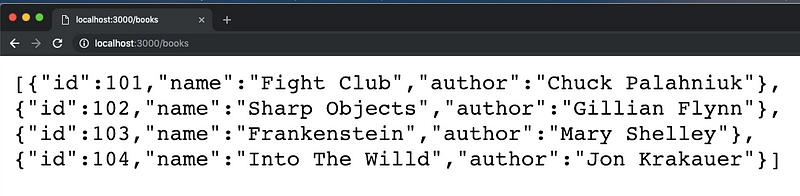
Congratulations! 🎉 You just build your first route using Koa.
Next step is to create a route to fetch a book by its id. It is going to use the similar approach as the previous route, plus we see how to extract information from request.params object of an incoming request.
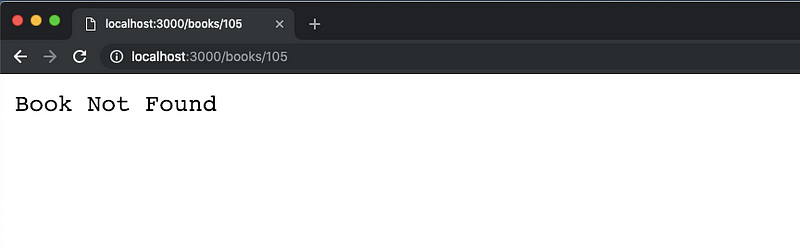
1// books.js2router.get('/:id', (ctx, next) => {3 let getCurrentBook = books.filter(function (book) {4 if (book.id == ctx.params.id) {5 return true;6 }7 });89 if (getCurrentBook.length) {10 ctx.body = getCurrentBook[0];11 } else {12 ctx.response.status = 404;13 ctx.body = 'Book Not Found';14 }15 next();16});
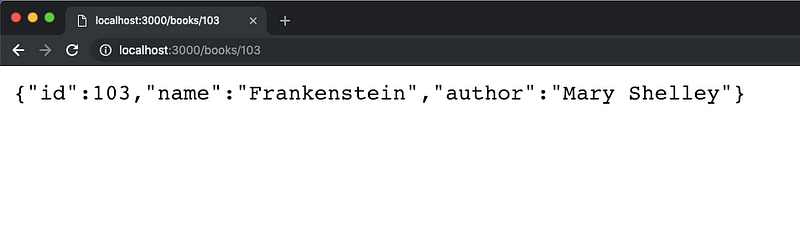
Routing parameters are named segments that are used to capture the values specified in the URL. In our case, such as:id. Above, we define a routing middleware function that can handle incoming requests from URLs such as http:localhost:3000/books/103. Enter this URL in your browser window and you will get the following result.
In case of when id does not exist or is invalid, you have to send an error message with an HTTP status of 404.
Handling a POST request
🔗The last route you are going to build for this demonstration is going to handle POST requests.
1// books.js23router.post('/new', (ctx, next) => {4 // Check if any of the data field not empty5 if (6 !ctx.request.body.id ||7 !ctx.request.body.name ||8 !ctx.request.body.author9 ) {10 ctx.response.status = 400;11 ctx.body = 'Please enter the data';12 } else {13 let newBook = books.push({14 id: ctx.request.body.id,15 name: ctx.request.body.name,16 author: ctx.request.body.author17 });18 ctx.response.status = 201;19 ctx.body = `New book added with id: ${ctx.request.body.id} & name: ${ctx.request.body.name}`;20 }21 next();22});
The /new route is used for creating a new book and adding it to our books array. I am using this to mock data and not a real database so restarting the application will delete the newly added books. In the above routing middleware, the Koa Context object first checks if any of the data fields required in request.body is present or not. If one of them is missing, this routing middleware will be terminated and sends back an error to the user.
If everything is fine, this routing middleware accepts the data and returns a success message with the correct HTTP status of code for creating a new record. To run this URL, I am using curl command from my terminal but you can use any REST client such as Postman or Insomnia.

For our all routes to be more descriptive and follow the REST API pattern, I have re-written every ctx.body object from each routing middleware function. Here is how the complete routing file looks so far.
1// books.js2const Router = require('koa-router');34// Prefix all routes with /books5const router = new Router({6 prefix: '/books'7});89let books = [10 { id: 101, name: 'Fight Club', author: 'Chuck Palahniuk' },11 { id: 102, name: 'Sharp Objects', author: 'Gillian Flynn' },12 { id: 103, name: 'Frankenstein', author: 'Mary Shelley' },13 { id: 104, name: 'Into The Willd', author: 'Jon Krakauer' }14];1516// Routes will go here17router.get('/', (ctx, next) => {18 ctx.body = {19 status: 'success',20 message: books21 };22 next();23});2425router.get('/:id', (ctx, next) => {26 let getCurrentBook = books.filter(function(book) {27 if (book.id == ctx.params.id) {28 return true;29 }30 });3132 if (getCurrentBook.length) {33 ctx.body = getCurrentBook[0];34 } else {35 ctx.response.status = 404;36 ctx.body = {37 status: 'error!',38 message: 'Book Not Found with that id!'39 };40 }41 next();42});4344router.post('/new', (ctx, next) => {45 // Check if any of the data field not empty46 if (47 !ctx.request.body.id ||48 !ctx.request.body.name ||49 !ctx.request.body.author50 ) {51 ctx.response.status = 400;52 ctx.body = {53 status: 'error',54 message: 'Please enter the data';55 }56 } else {57 let newBook = books.push({58 id: ctx.request.body.id,59 name: ctx.request.body.name,60 author: ctx.request.body.author61 });62 ctx.response.status = 201;63 ctx.body = {64 status: 'success',65 message: `New book added with id: ${ctx.request.body.id} & name: ${66 ctx.request.body.name67 }`68 };69 }70 next();71});7273module.exports = router;
This completes the basics of building a REST API using Koa as a Node.js framework. It’s a pretty minimal framework with all the necessary ways to tackle incoming requests and send the response back from the server. Koa also supports ready-made middleware functions to make use of logging, handling errors, testing, compression, and security.
You can find the complete code used in this tutorial at this Github repository
More Posts
Browse all posts
I'm a software developer and a technical writer. On this blog, I write about my learnings in software development and technical writing.
Currently, working maintaining docs at 𝝠 Expo. Read more about me on the About page.